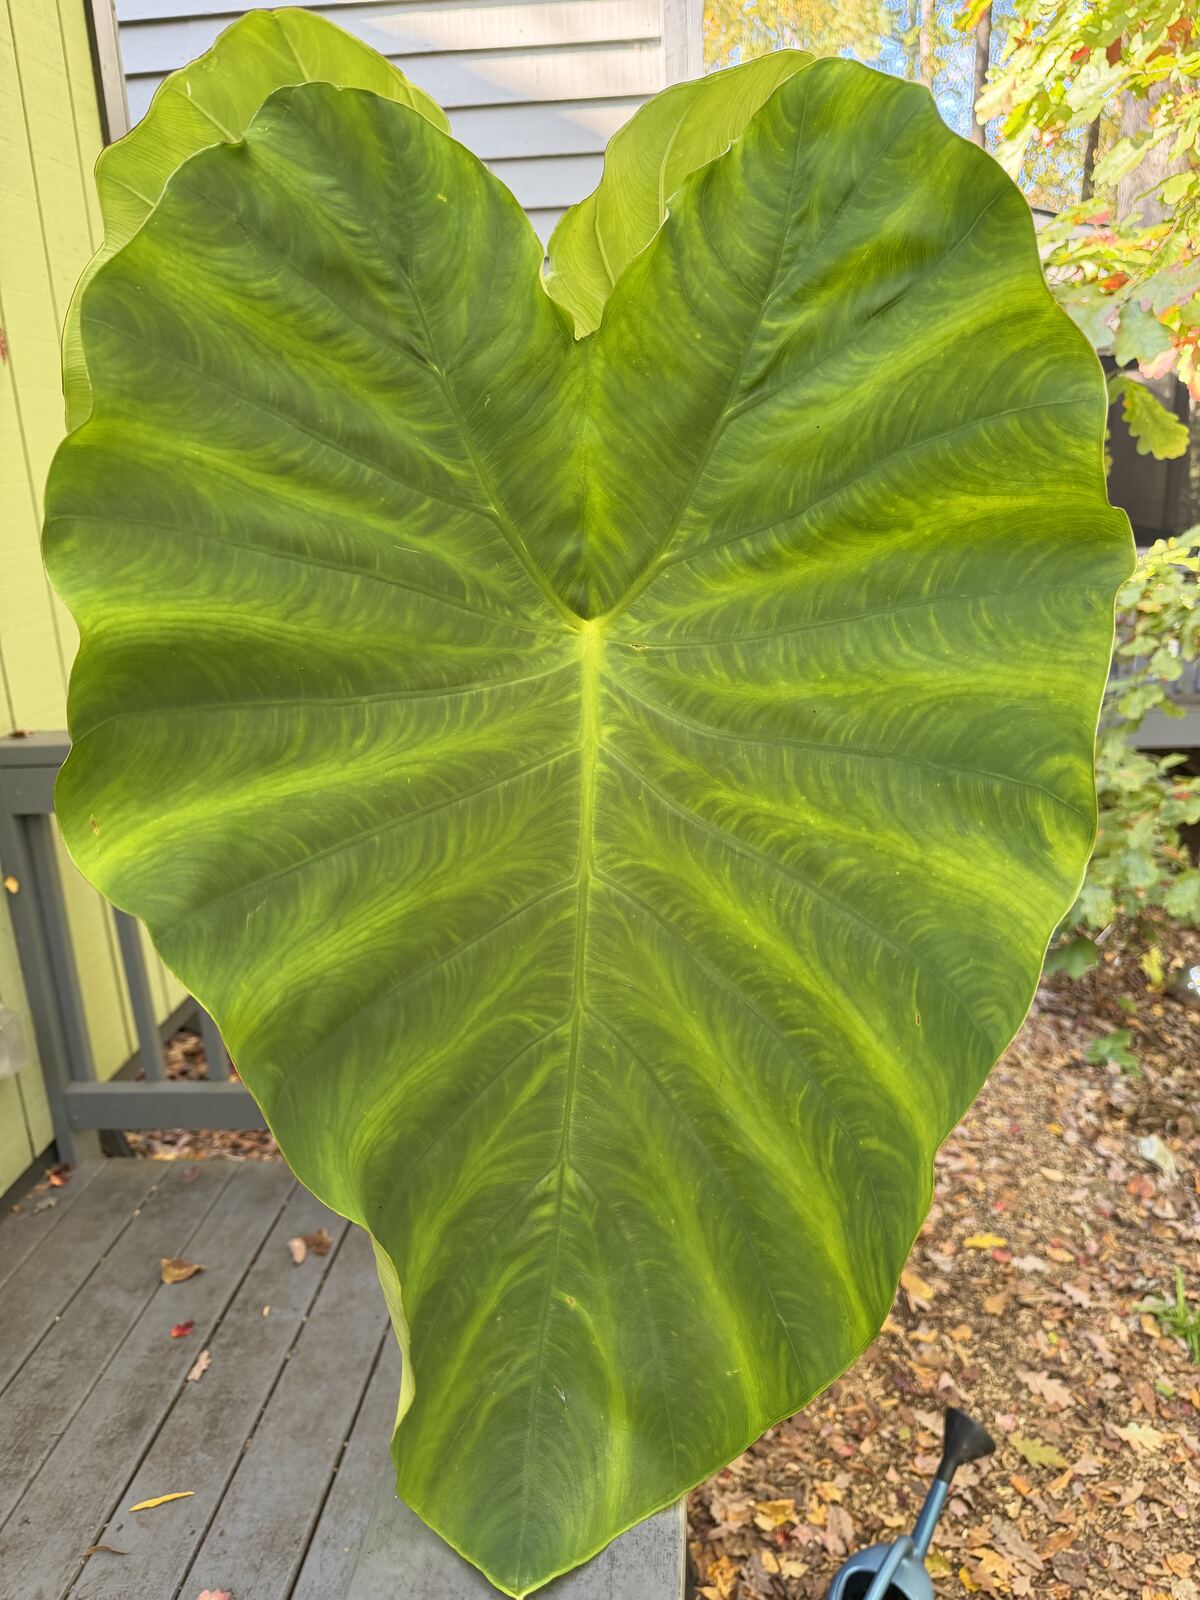
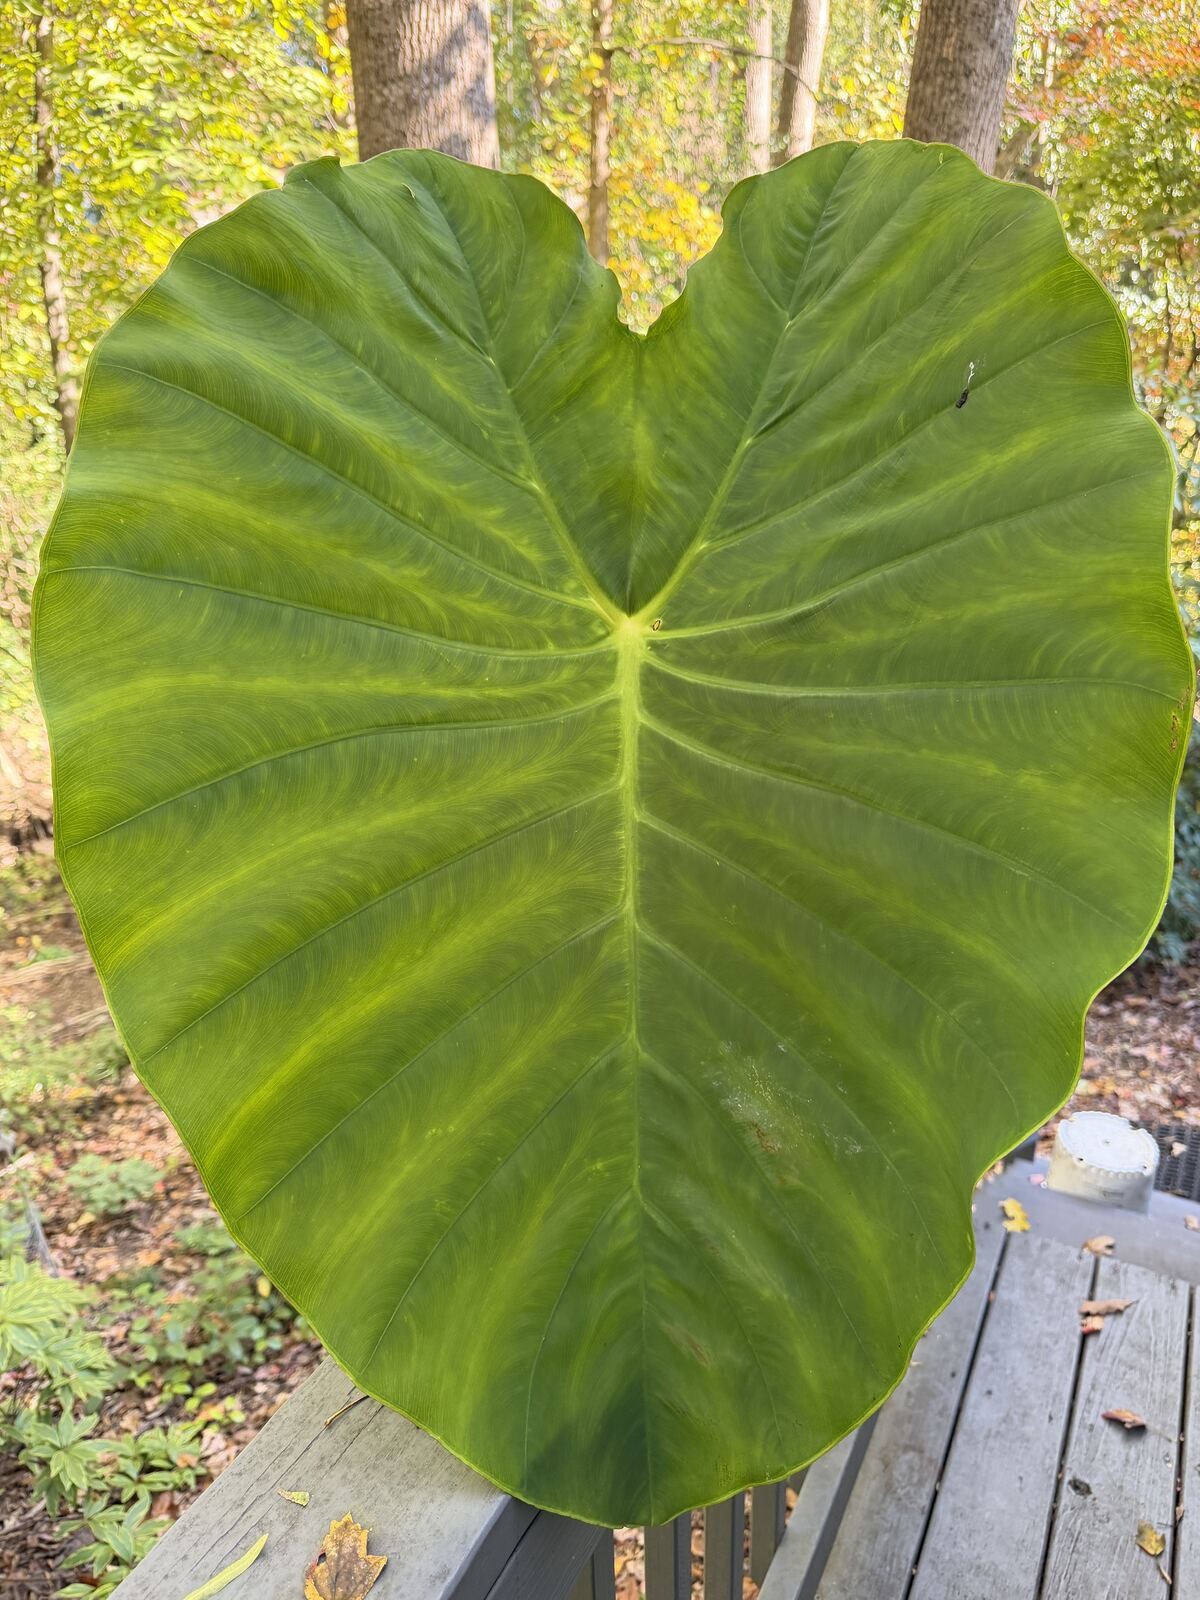
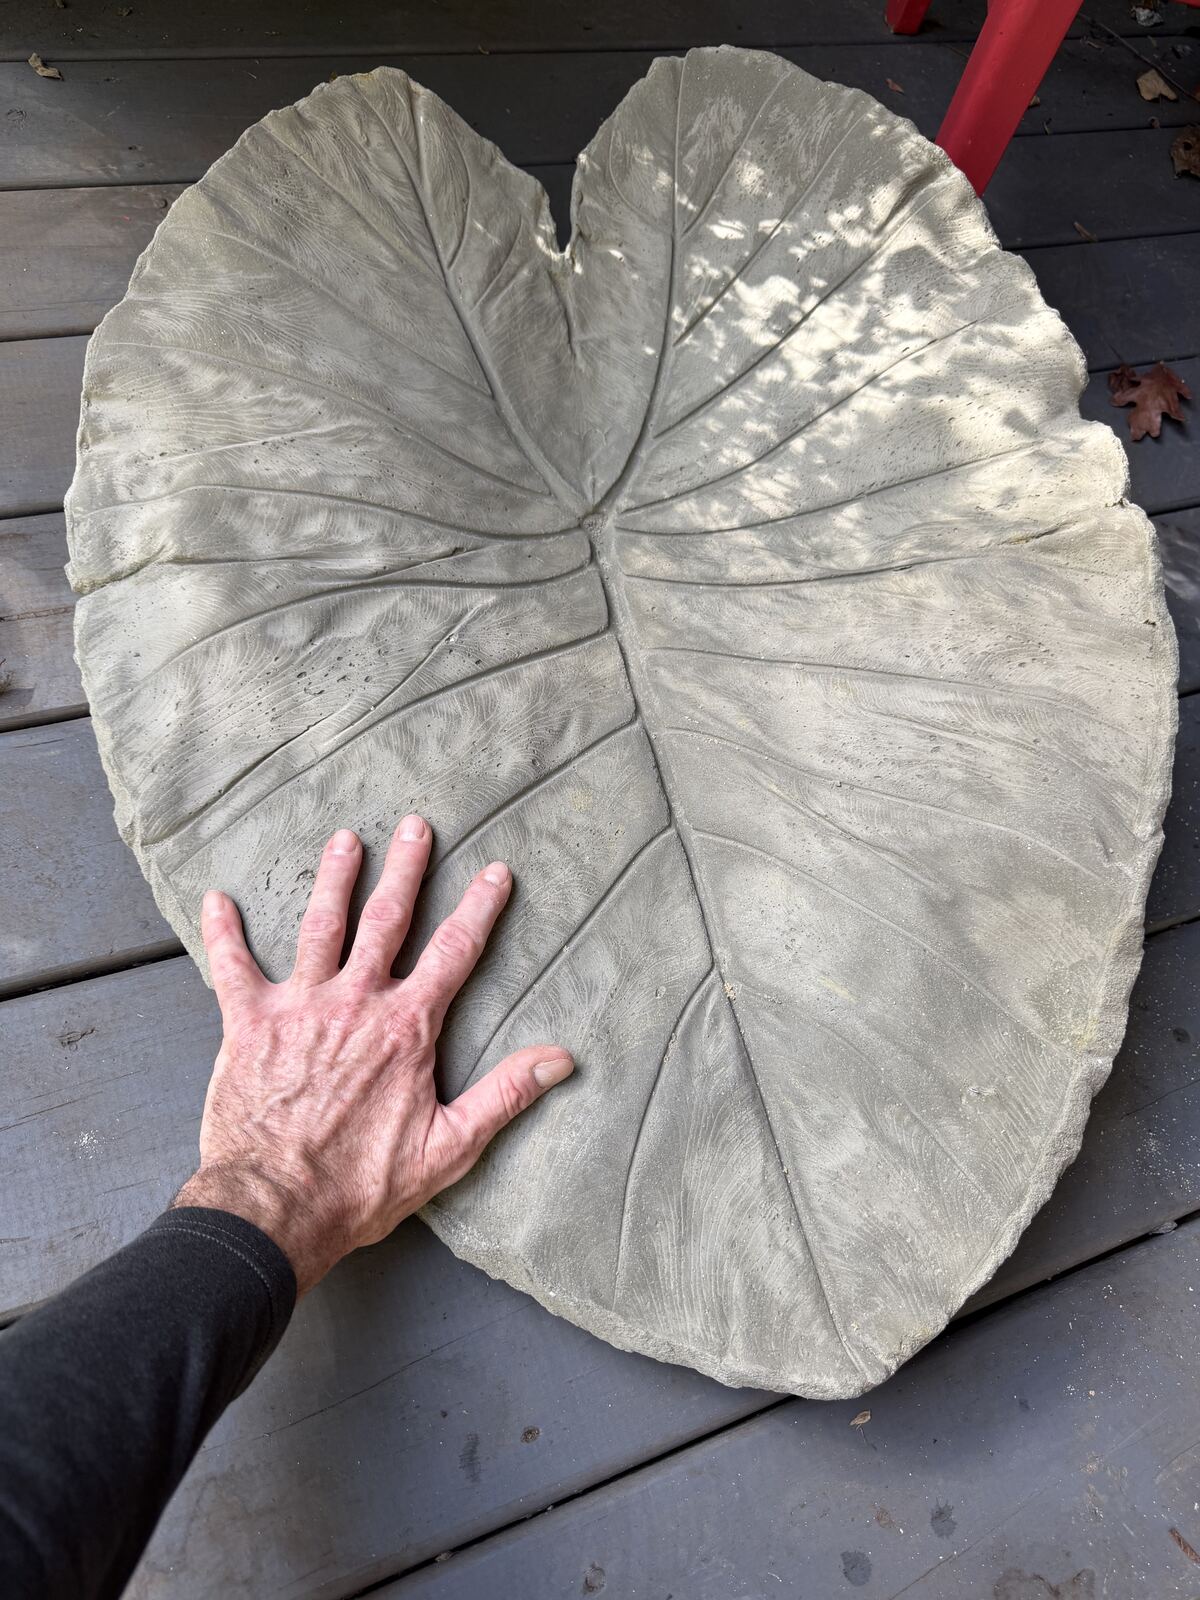
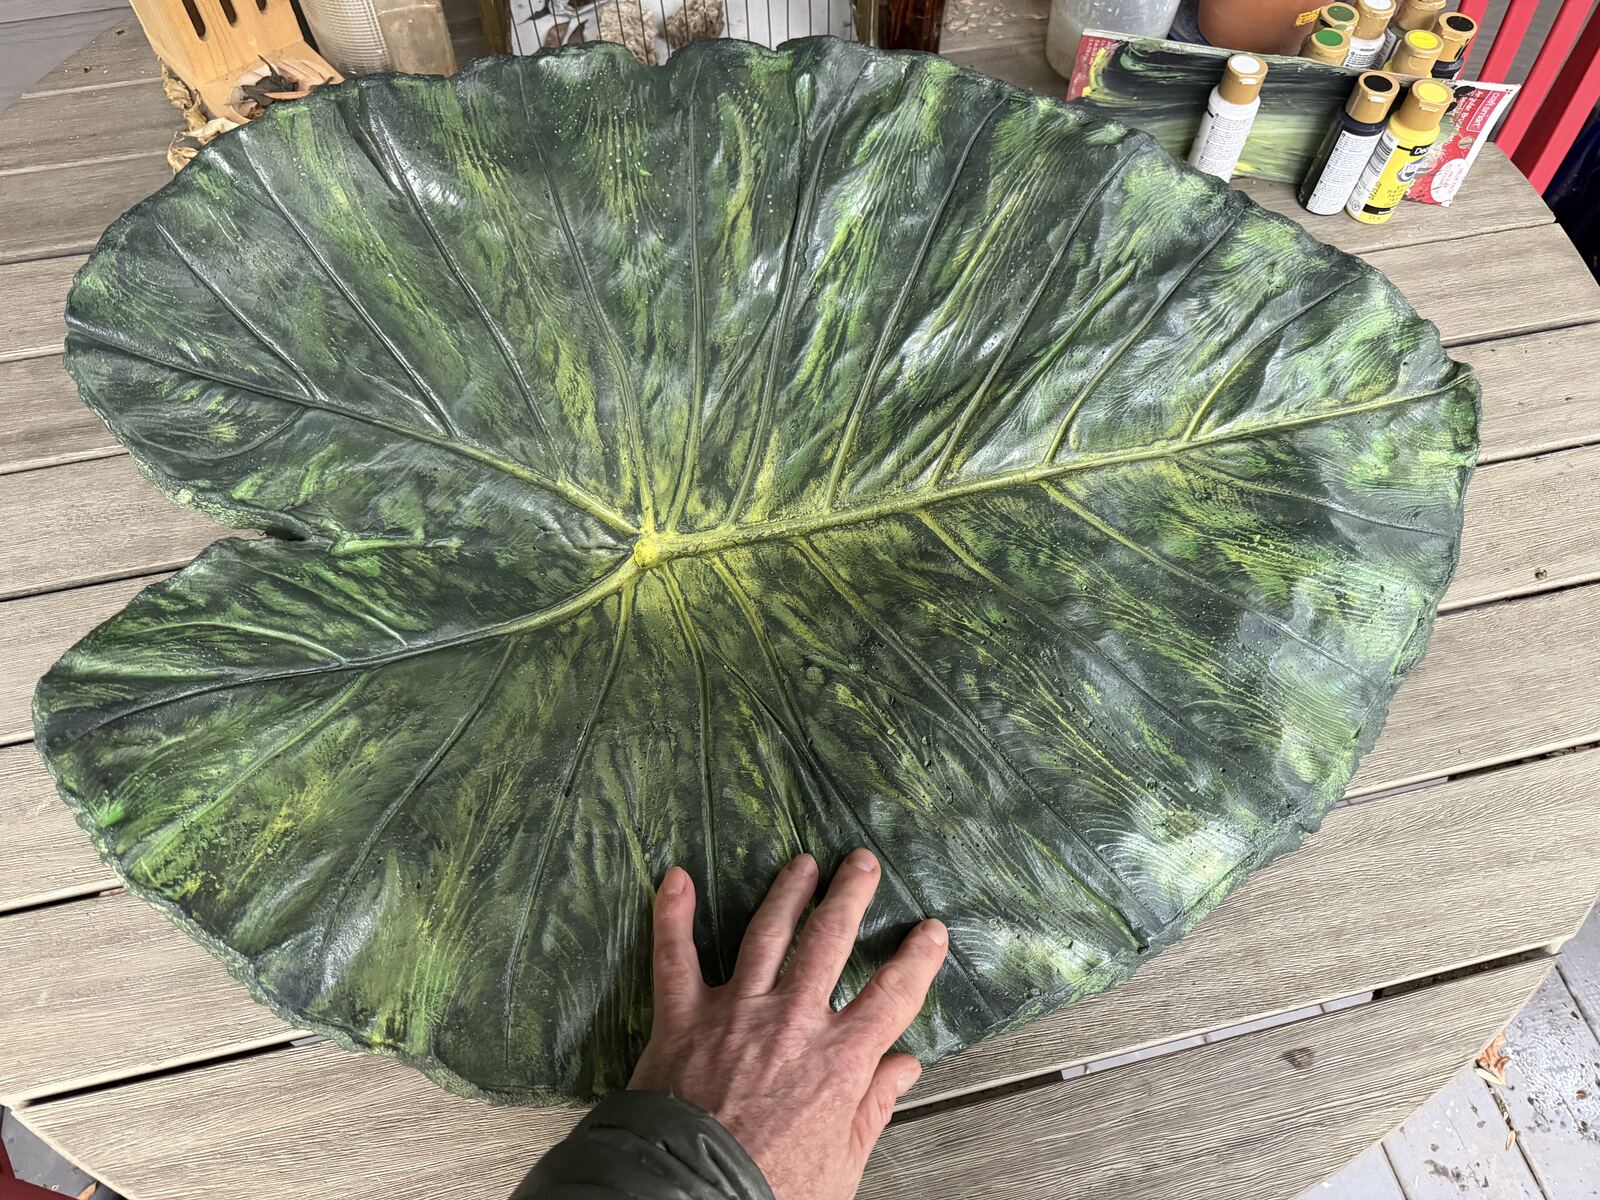
A neighbor up the street grows Colocasia — elephant ears — and late in the season a couple of the leaves came in close to three feet long and two feet across. Rather than let the first frost take them, I brought a pair home to press into concrete, one impression each, and keep the shape.
What follows is the whole project, in order, pulled straight from the photos on my phone — the recipe I settled on, the chicken wire for the big spans, peeling the leaf away the next morning, layering the paint back on, and finally setting them out in the garden. The photos below are stamped with the moment each was actually taken.
Six weeks, one leaf
The leaf
You want a leaf with deep, well-defined veins and a clean, unblemished surface — that texture is the whole point of the cast. Before anything touches cement, cut the petiole (the stem) off flush with the blade. If it sticks up even a little, it'll punch a hole clean through the finished piece — a real problem if you ever want to hold water in it.
The mix
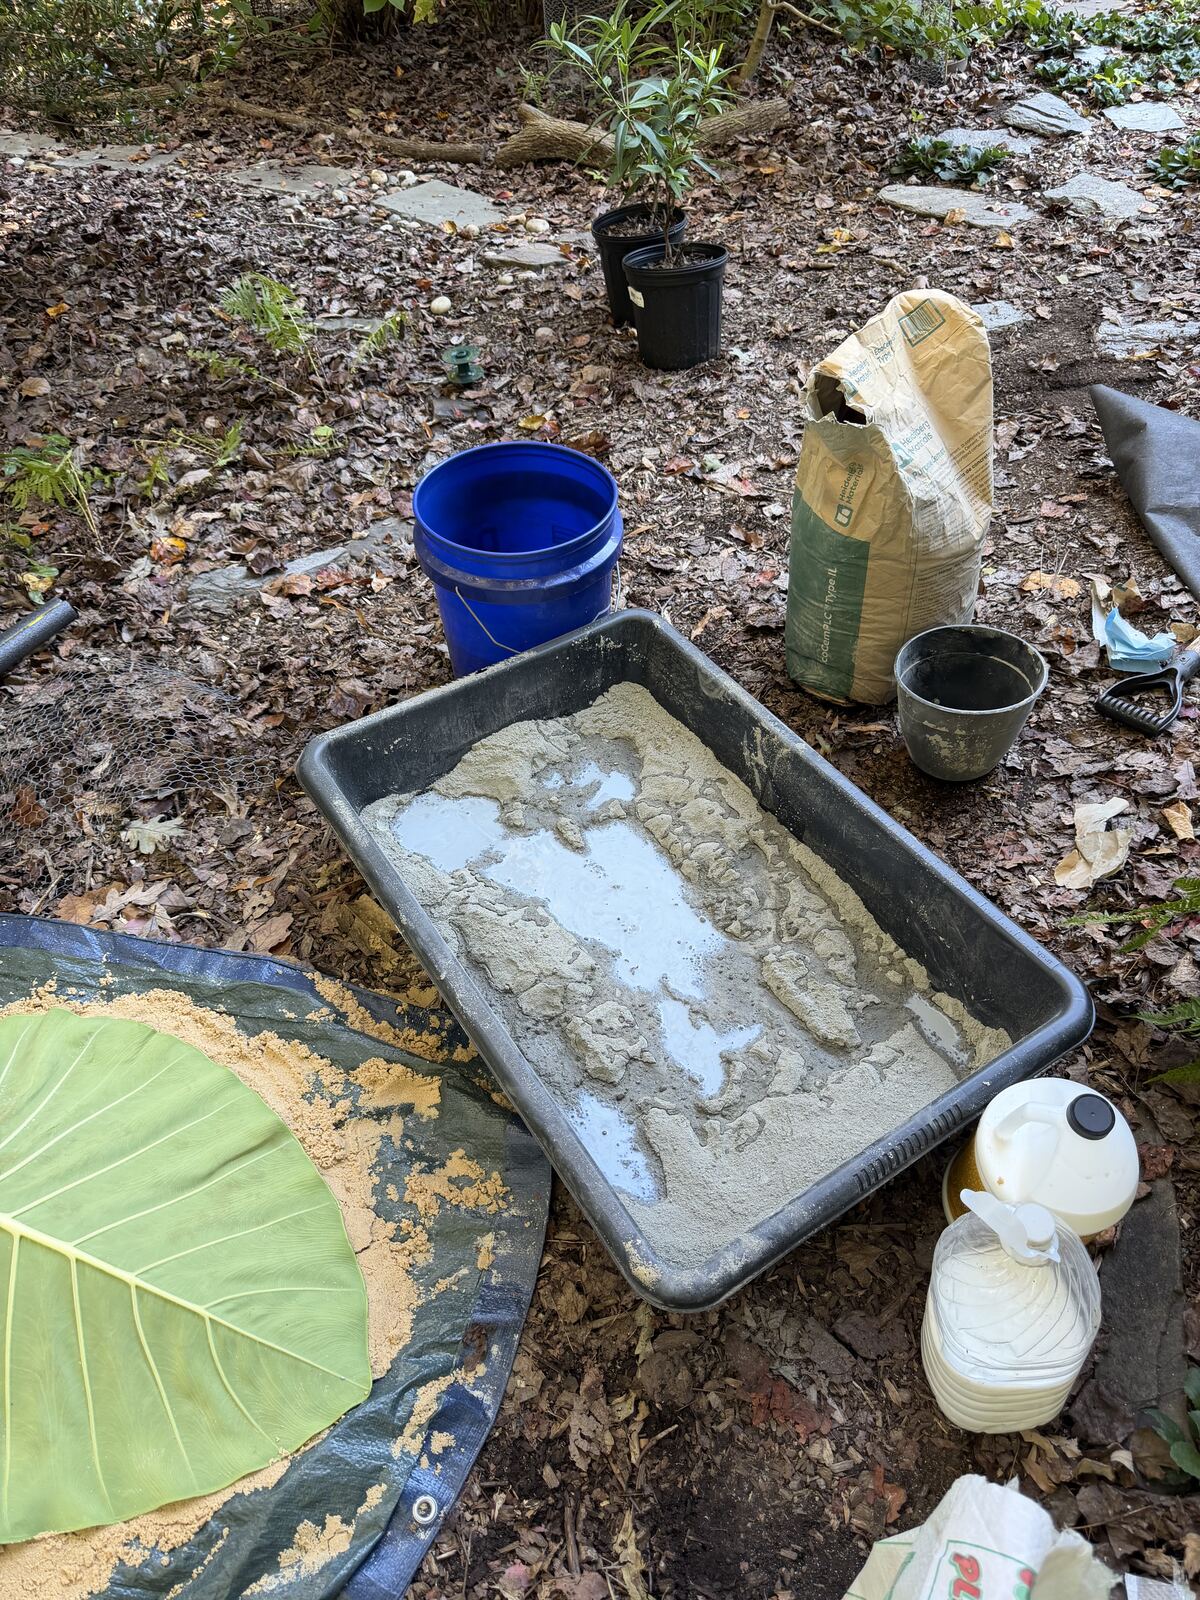
I was working with vinyl patch cement (a Portland-based product), play sand, a liquid concrete vinyl adhesive, and water. After some trial and error, this is the ratio I landed on — a middle ground that's strong enough for a big span but still smooth enough to read every vein.
The recipe — in parts
Mix the dry ingredients thoroughly first. Combine the adhesive and water separately, then add that liquid to the dry mix gradually, stirring as you go. Stop at a thick brownie-batter consistency — it should hold its shape but still spread and shape easily.
Why 2:1?
- More cement than 3:1 means more strength — important across a two- to three-foot leaf.
- More cement than 1:1 means a finer, smoother finish with fewer visible sand grains.
- The vinyl adhesive acts as a plasticizer: more workable, better bond, a touch more water resistance.
Setting up the sand mound
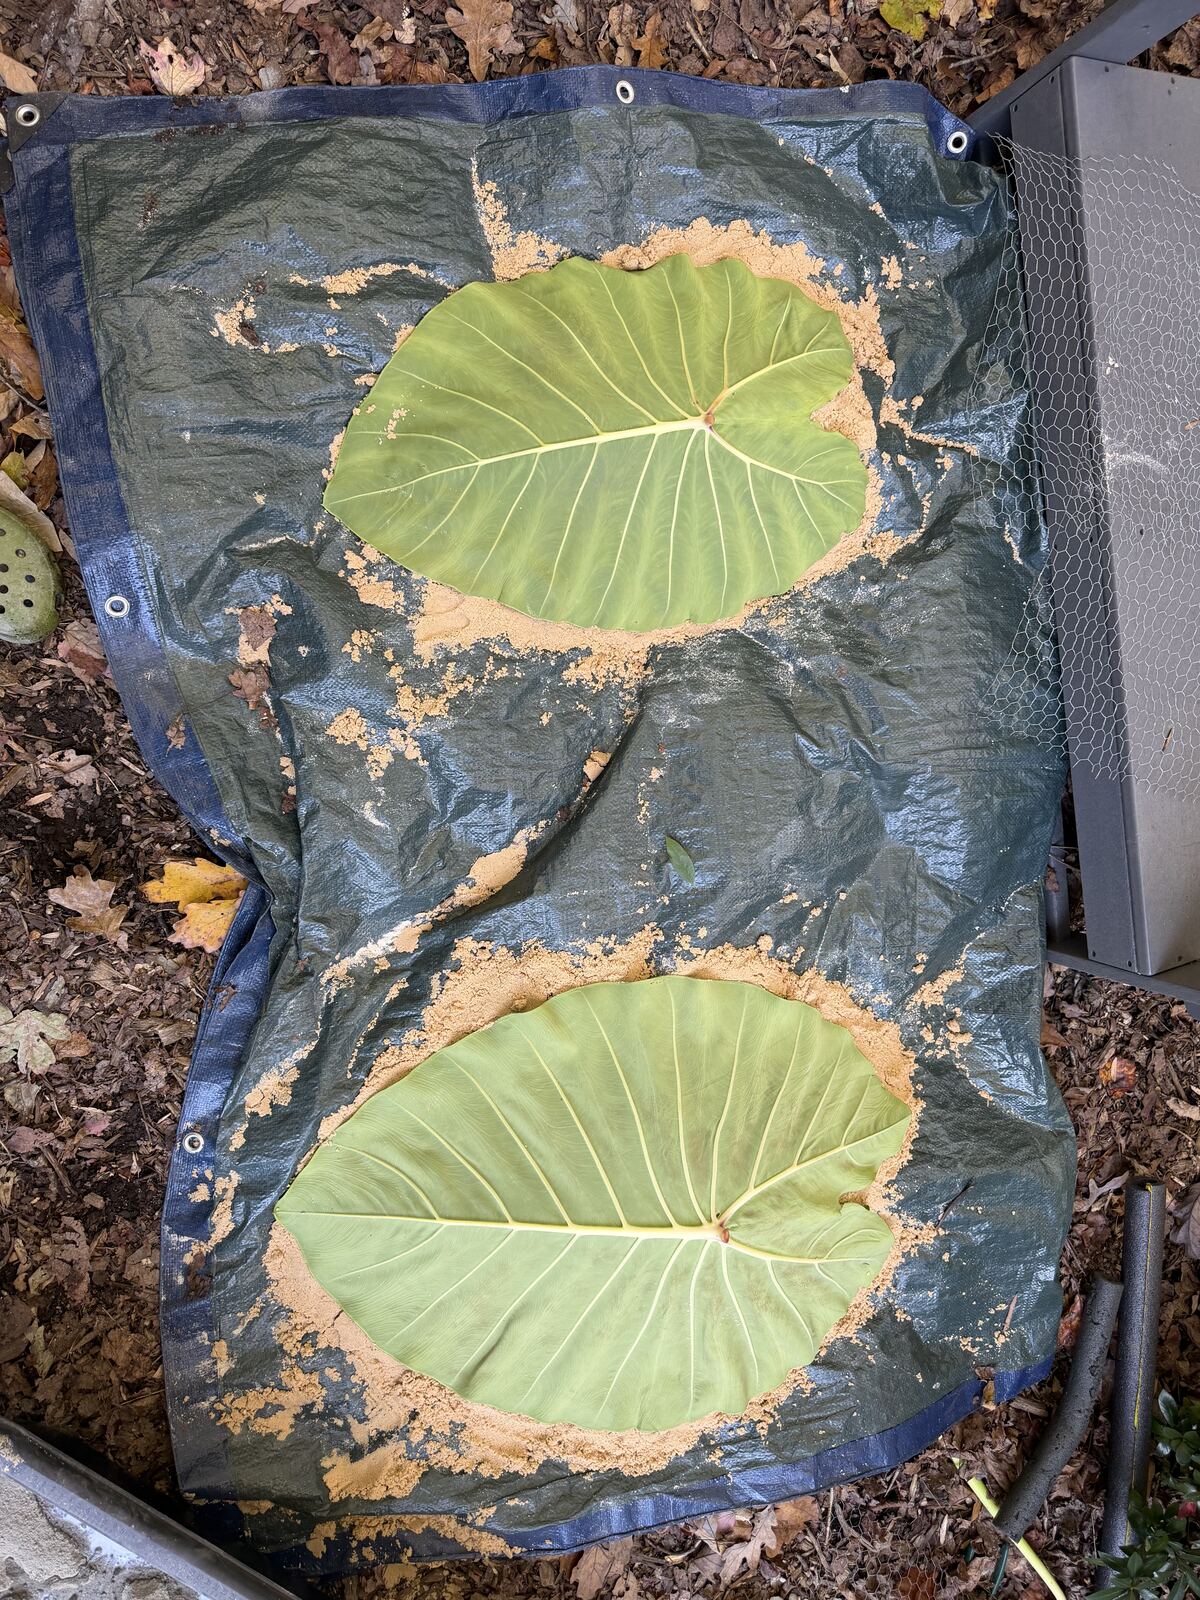
On a tarp, mound the sand and drape the leaf over it vein-side up. The mound gives the finished cast a gentle bowl — exactly what you want for a birdbath or a dish. Keep the chicken wire within reach; the big leaves will need it.
Packing the cast
- Pack the mix onto the back of the leaf. Start at the center and work out, pressing gently so it takes the vein detail. Aim for about a quarter-inch at the edges, thicker down the midrib for strength.
- For big leaves, reinforce. Lay down a first layer, press a piece of chicken wire into it, then cover with a second layer. This is the difference between a cast that survives a move and one that cracks in half.
- Don't overflow the leaf's edge. Mix that spills past the real edge just makes for harder cleanup later. Keep it tidy.
- Cover and wait. Drape the whole thing with a plastic bag and let it cure. Mine set overnight in the cold — around 40°F — for roughly twenty hours, and that was enough.
The next morning
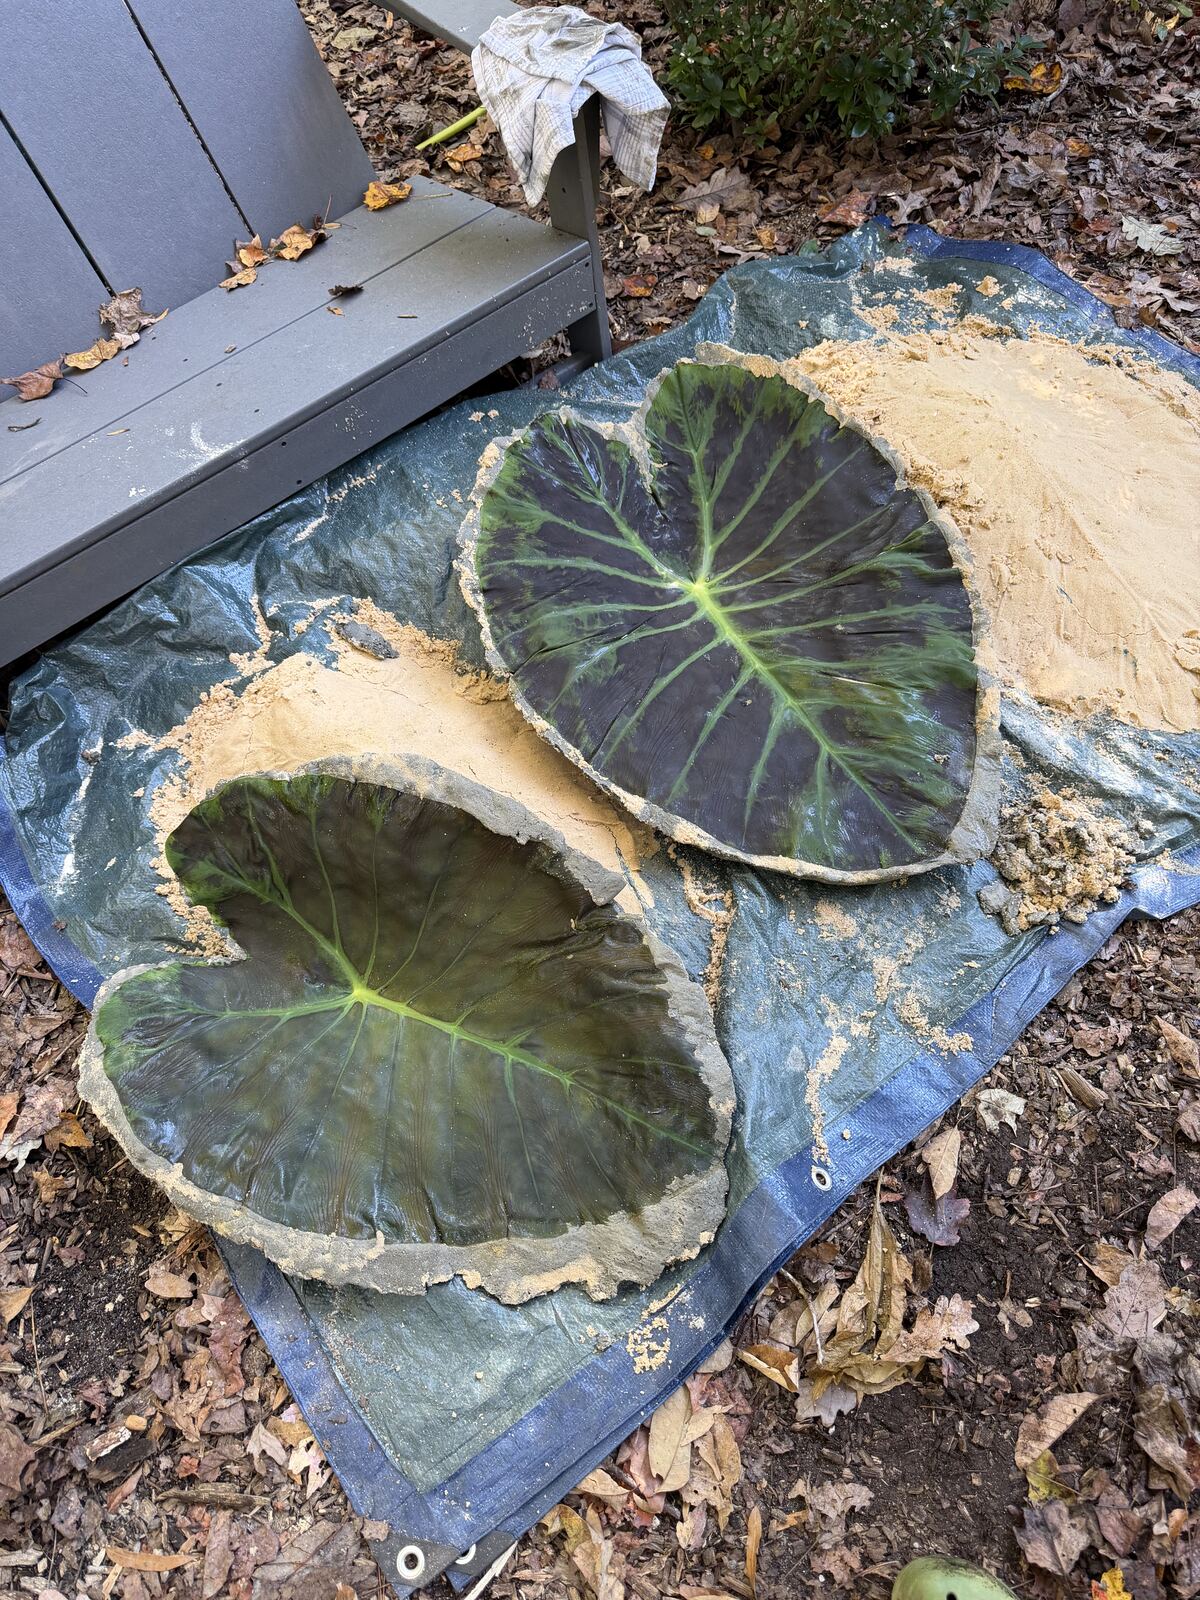
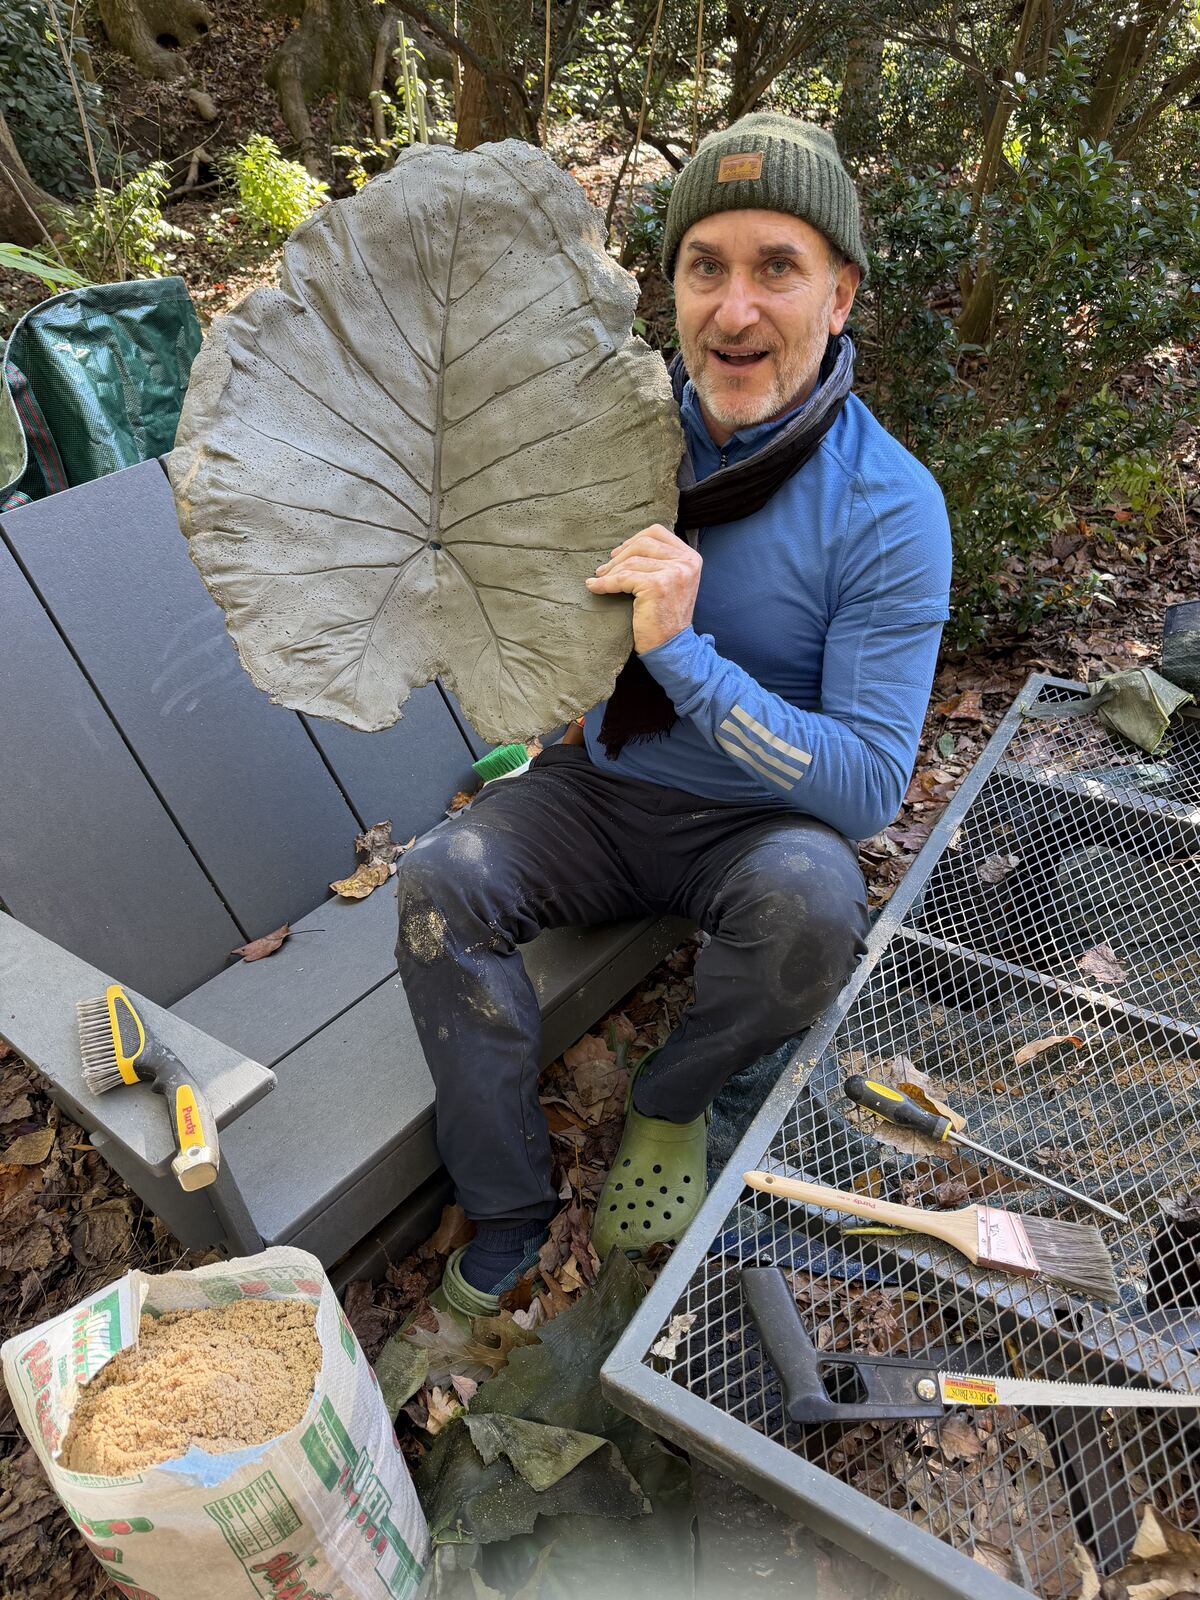
Cold night, but both casts had firmed up nicely under their plastic. You can still see the green leaves pressed into the gray — the reveal comes next.
Peeling the leaf
This is the satisfying part. Work a flathead screwdriver gently under the veins and lift them away from the concrete. The trick: try to pull the whole leaf out as a single piece. Keeping the leaf intact lets you use its own strength as leverage, so the veins come free instead of tearing off and leaving bits behind.
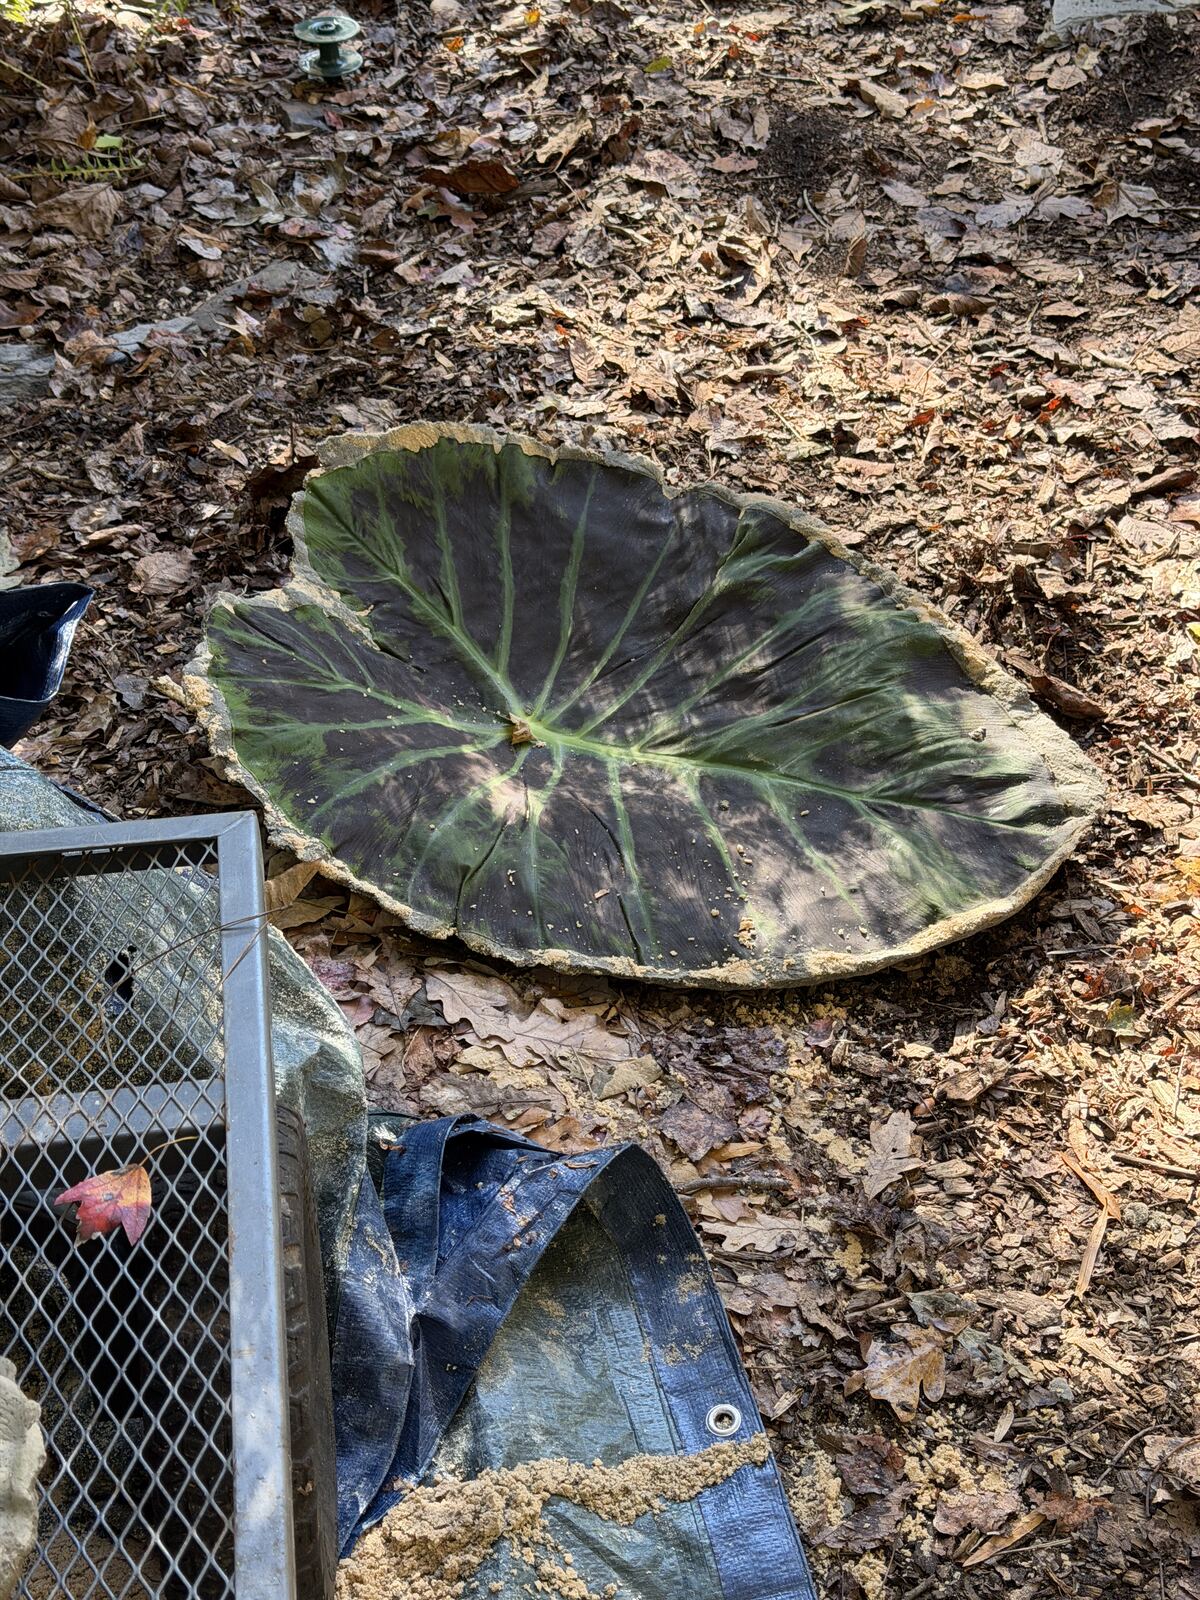
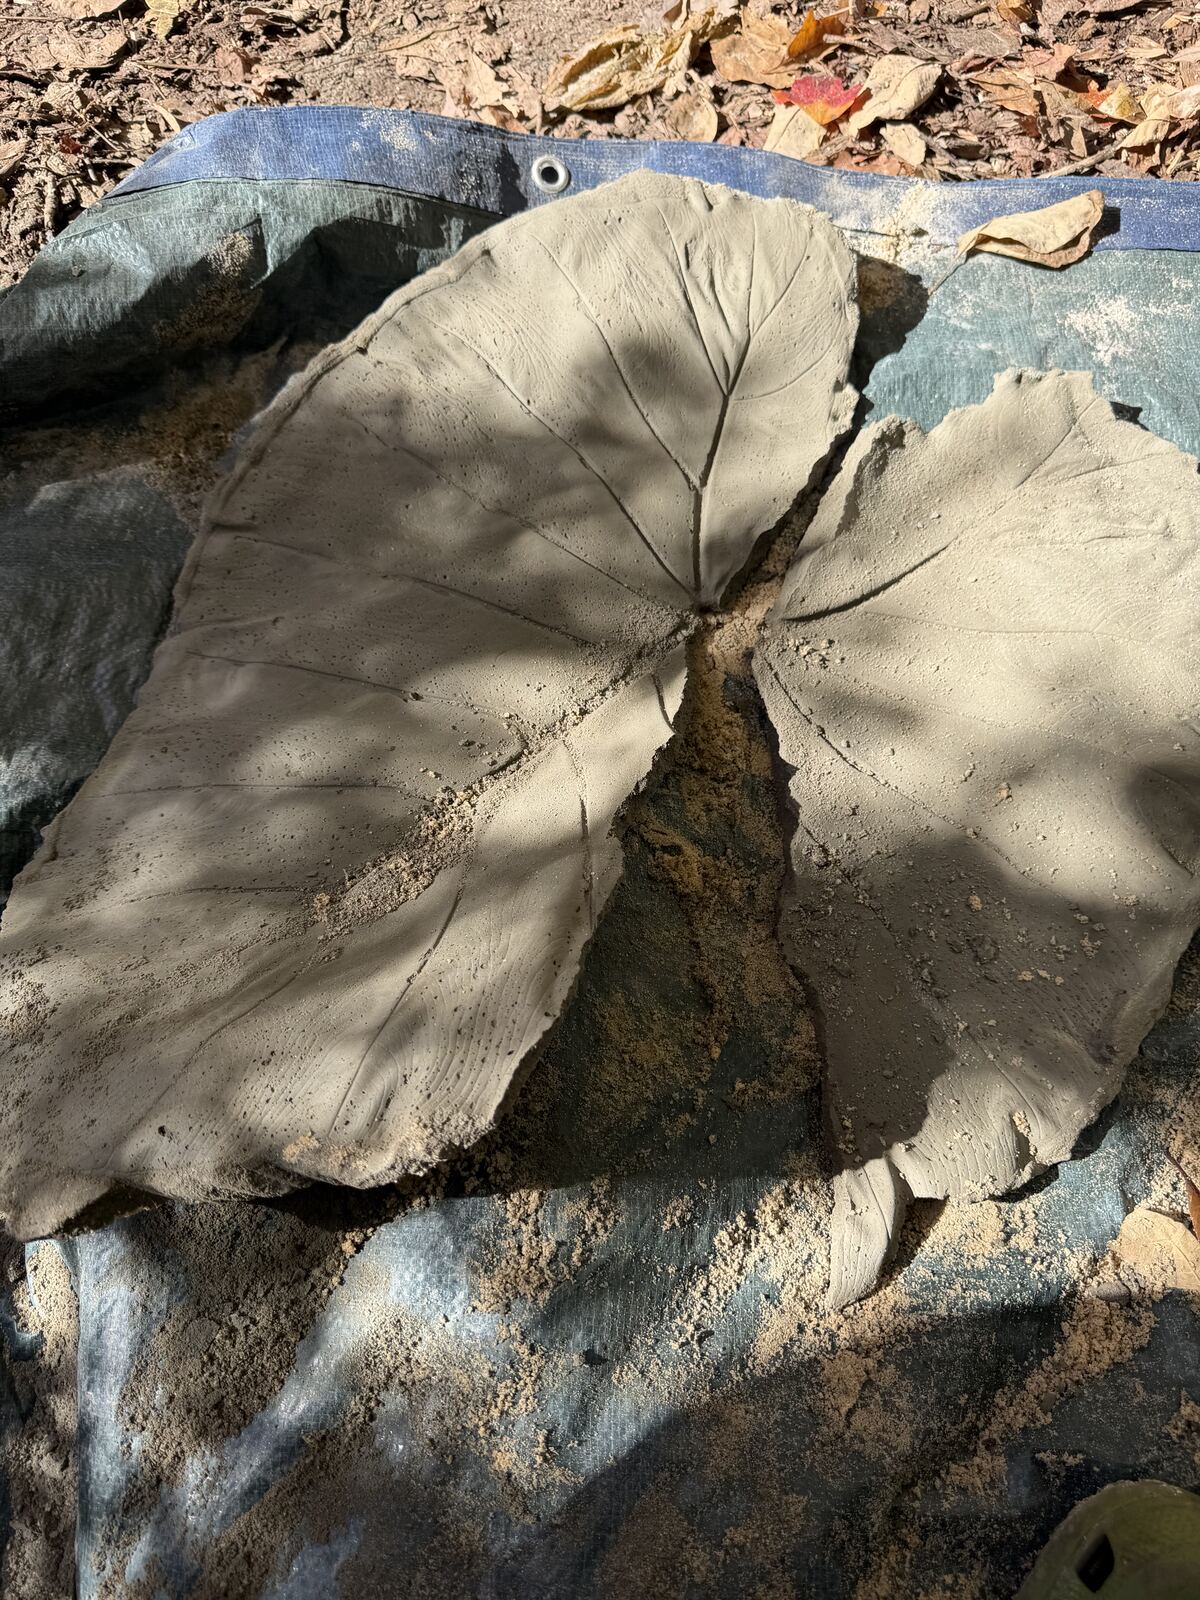
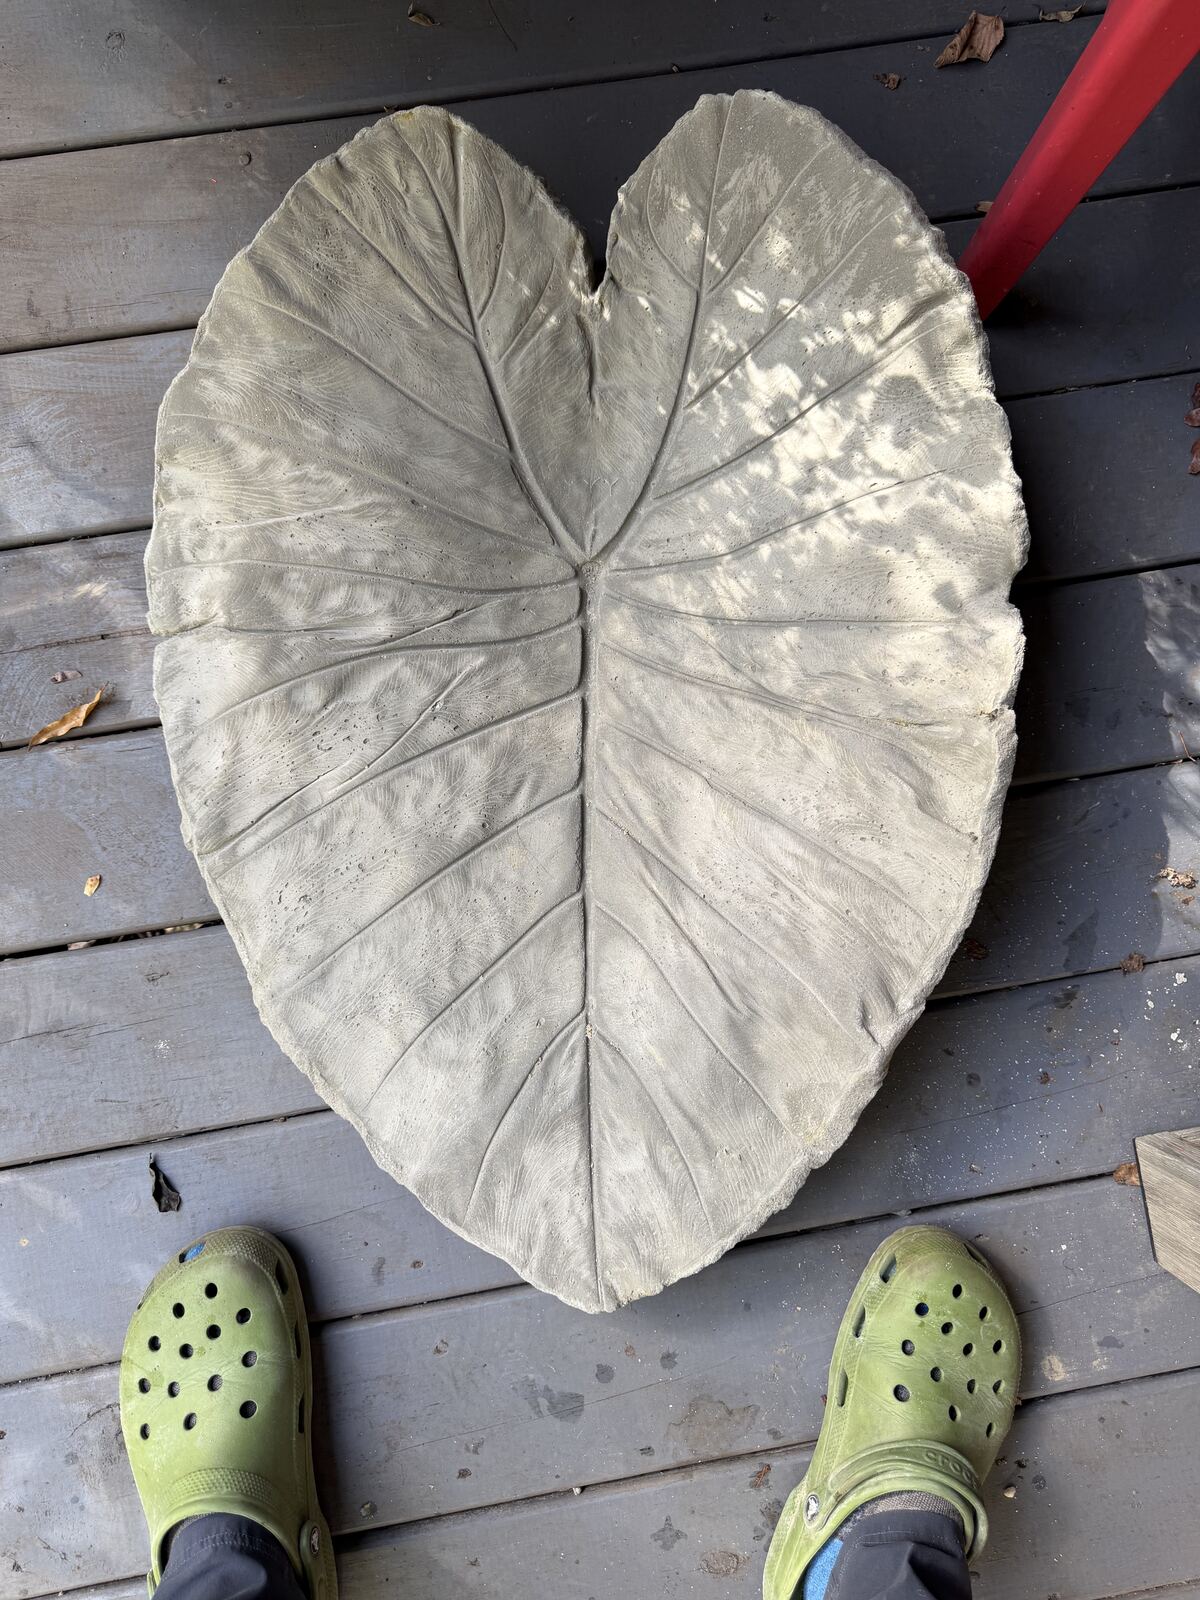
The two leaves came out differently. The larger one held together. The second cracked clean in half — not from the peeling, but because I got impatient and moved the cast before it had fully cured. It was also the leaf I hadn't reinforced, which surely didn't help. The lesson is simple: give it more time before you handle it.
Once the leaf is off, brush out any clinging debris with a big paintbrush. Then — while the cast is still only overnight-cured and relatively soft — trim the overflowed edges with a small hand saw. Doing this now, at roughly twelve to twenty hours, is far easier than waiting until it's fully hard.
The palette
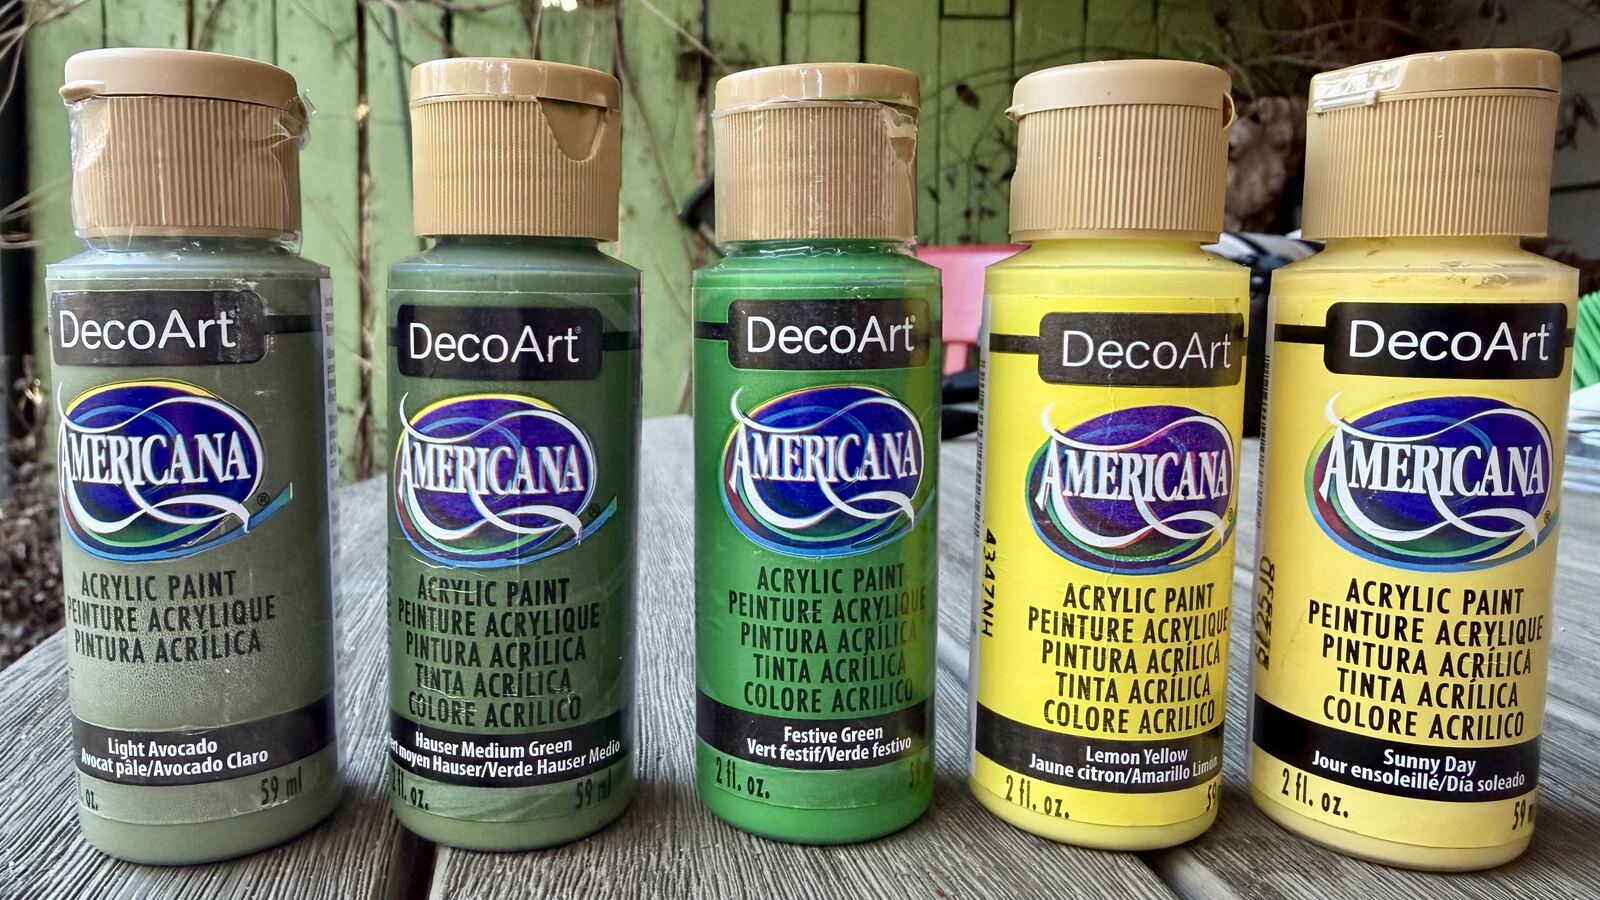
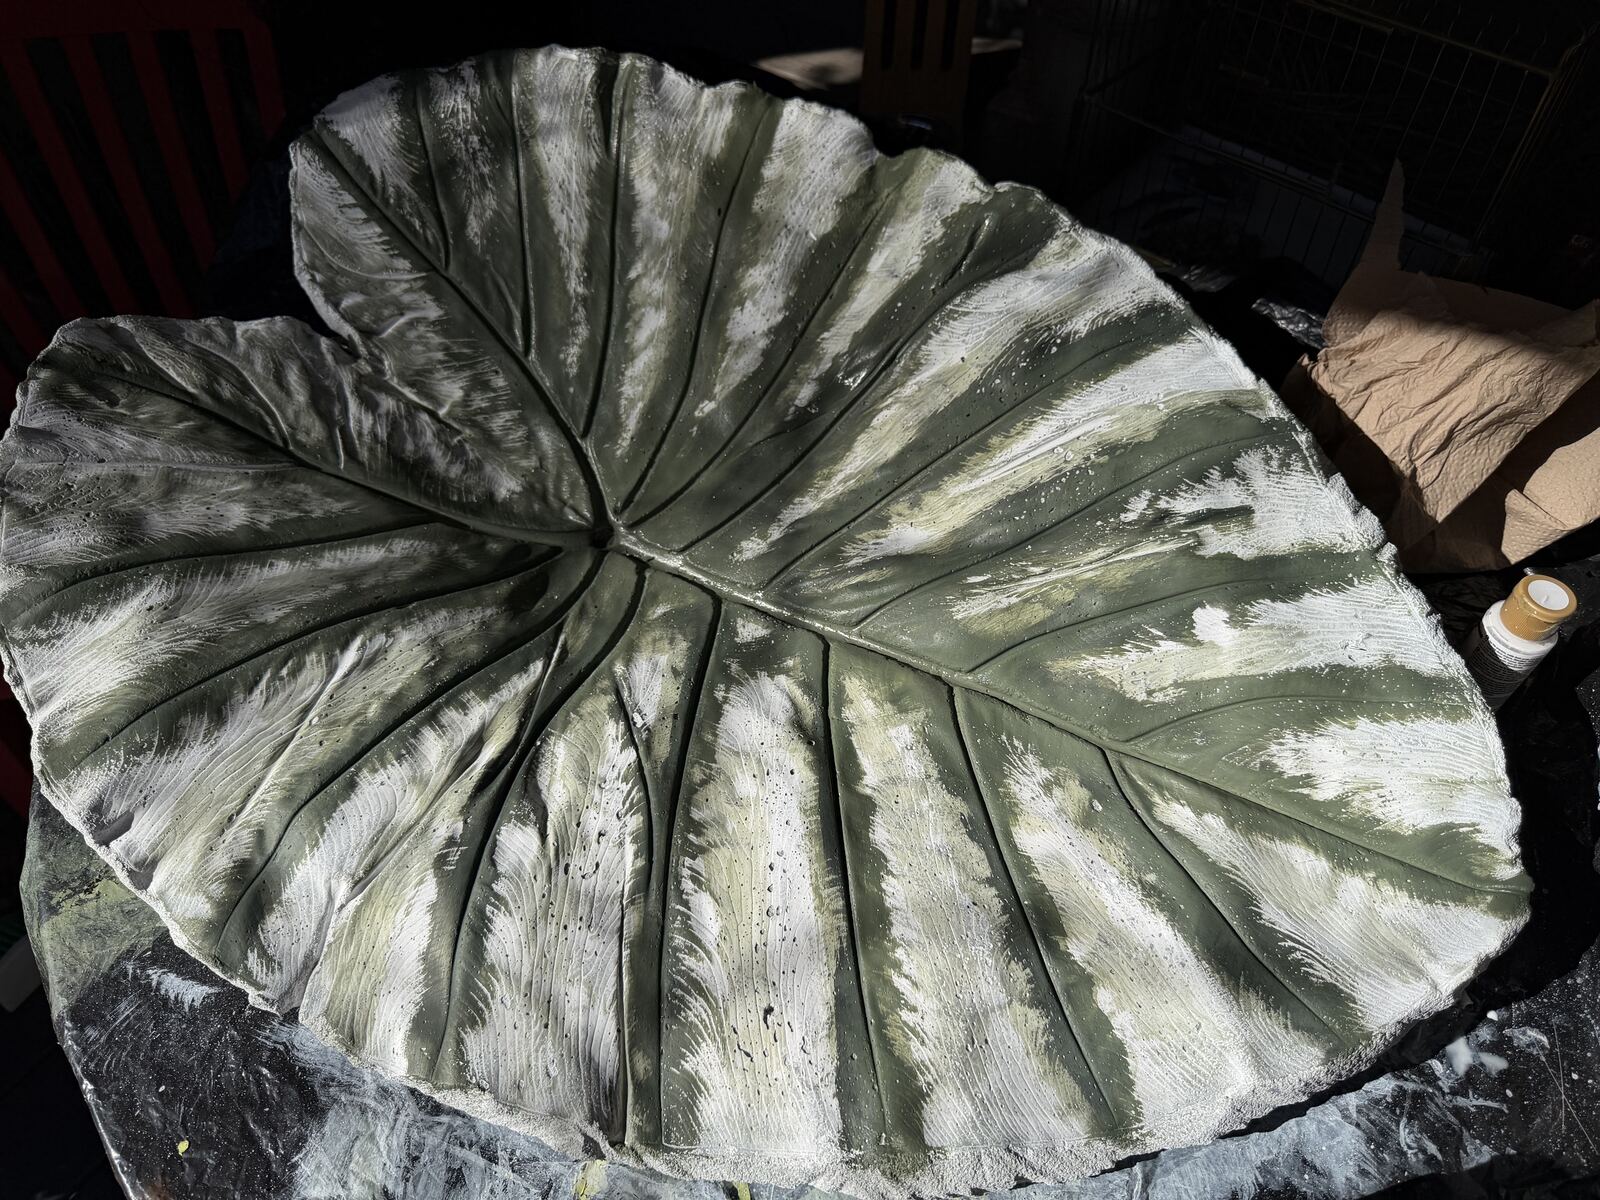
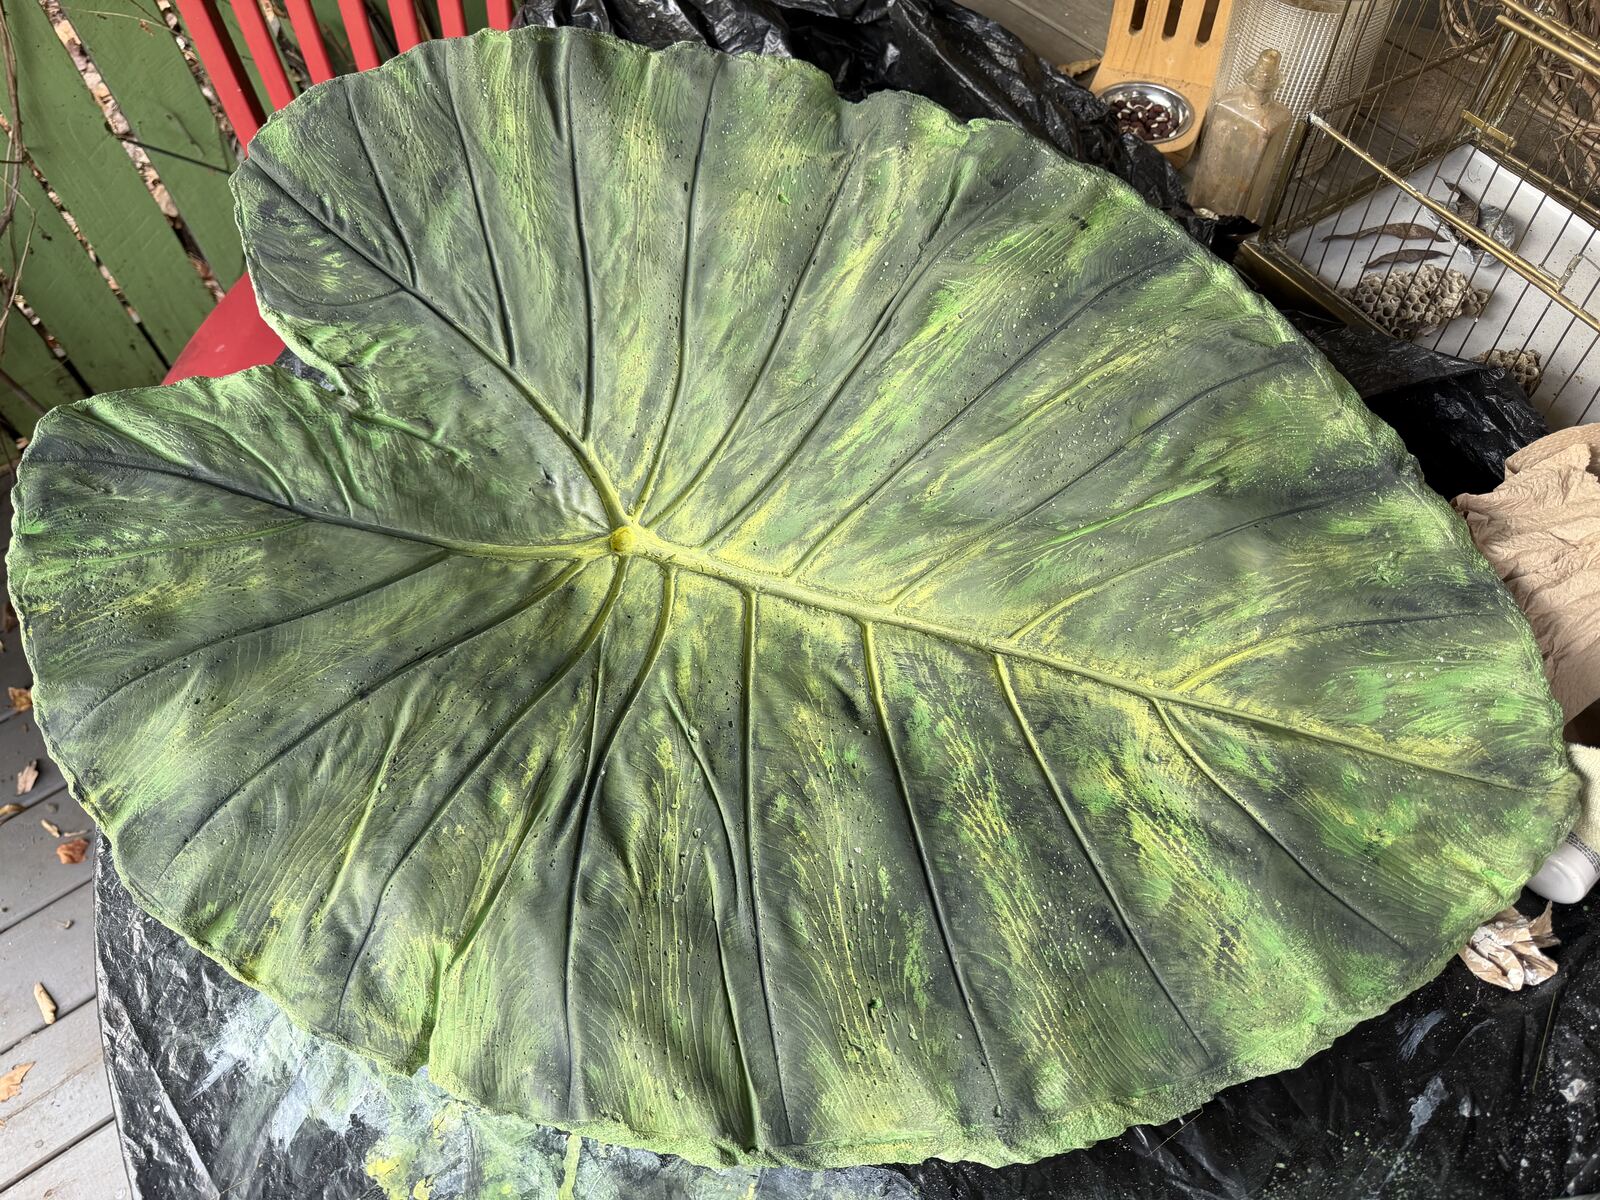
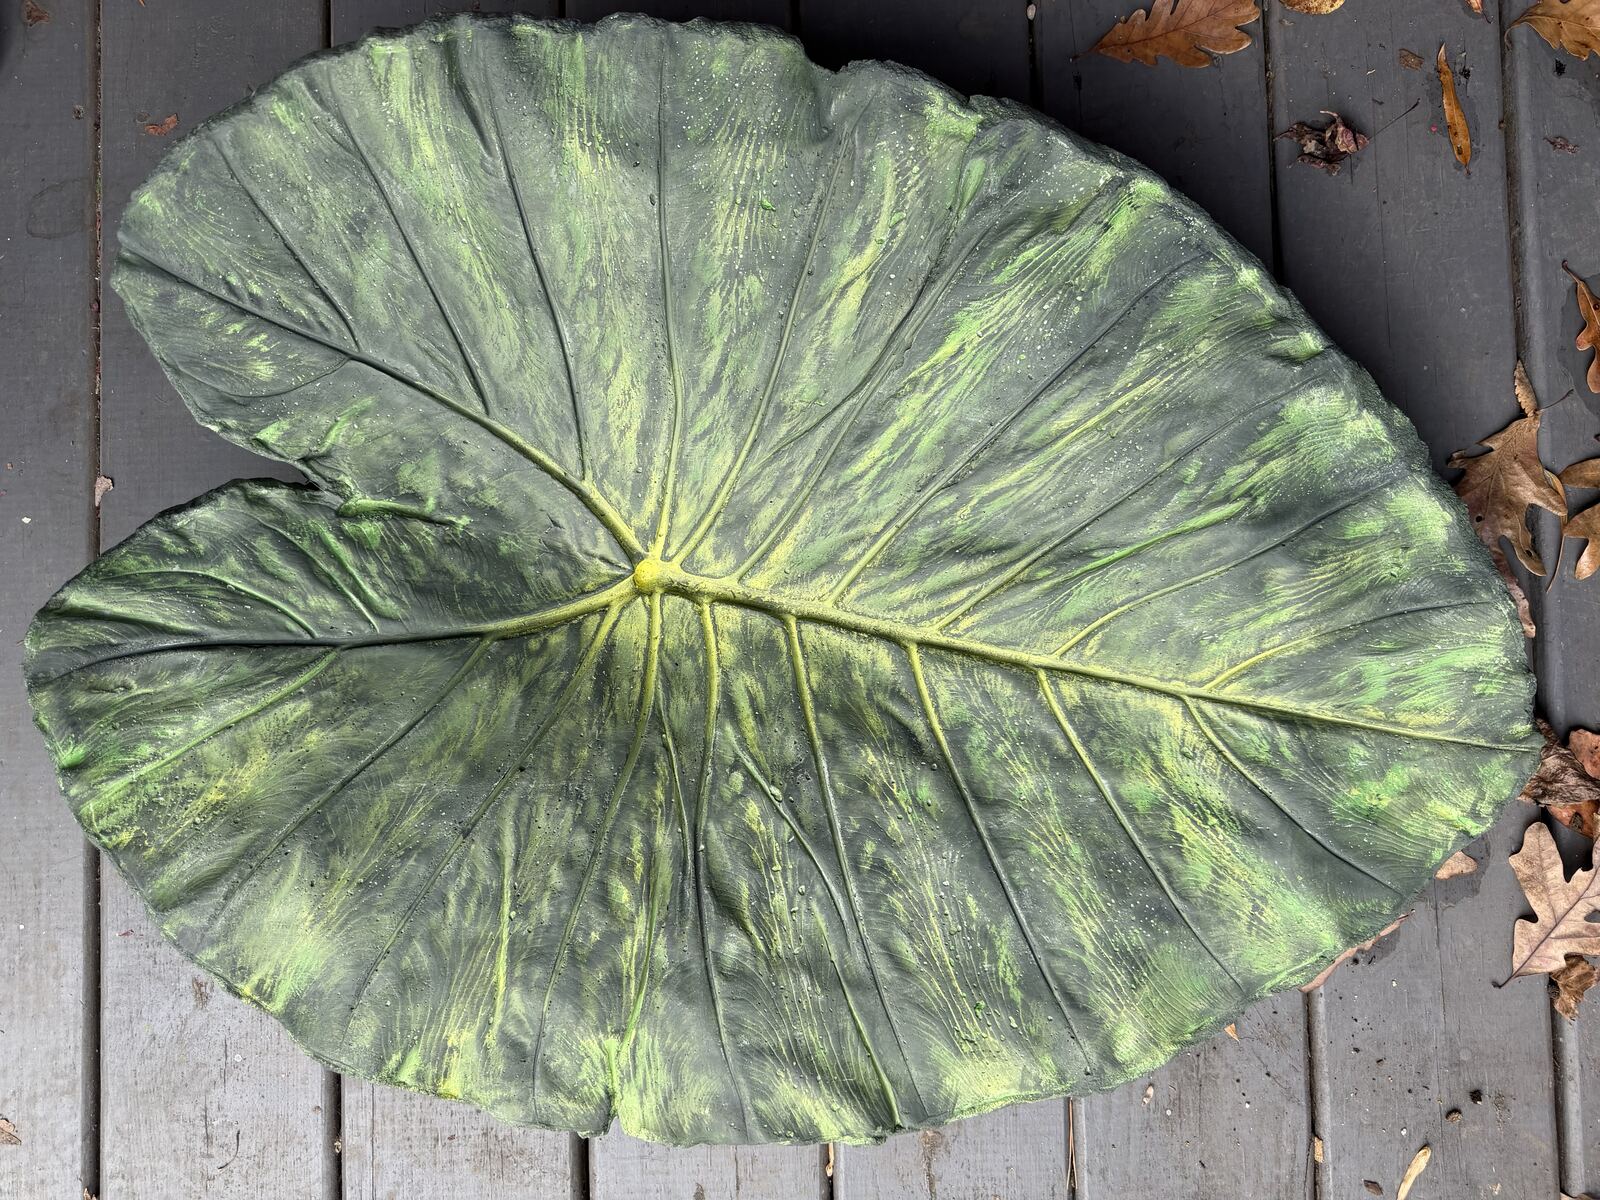
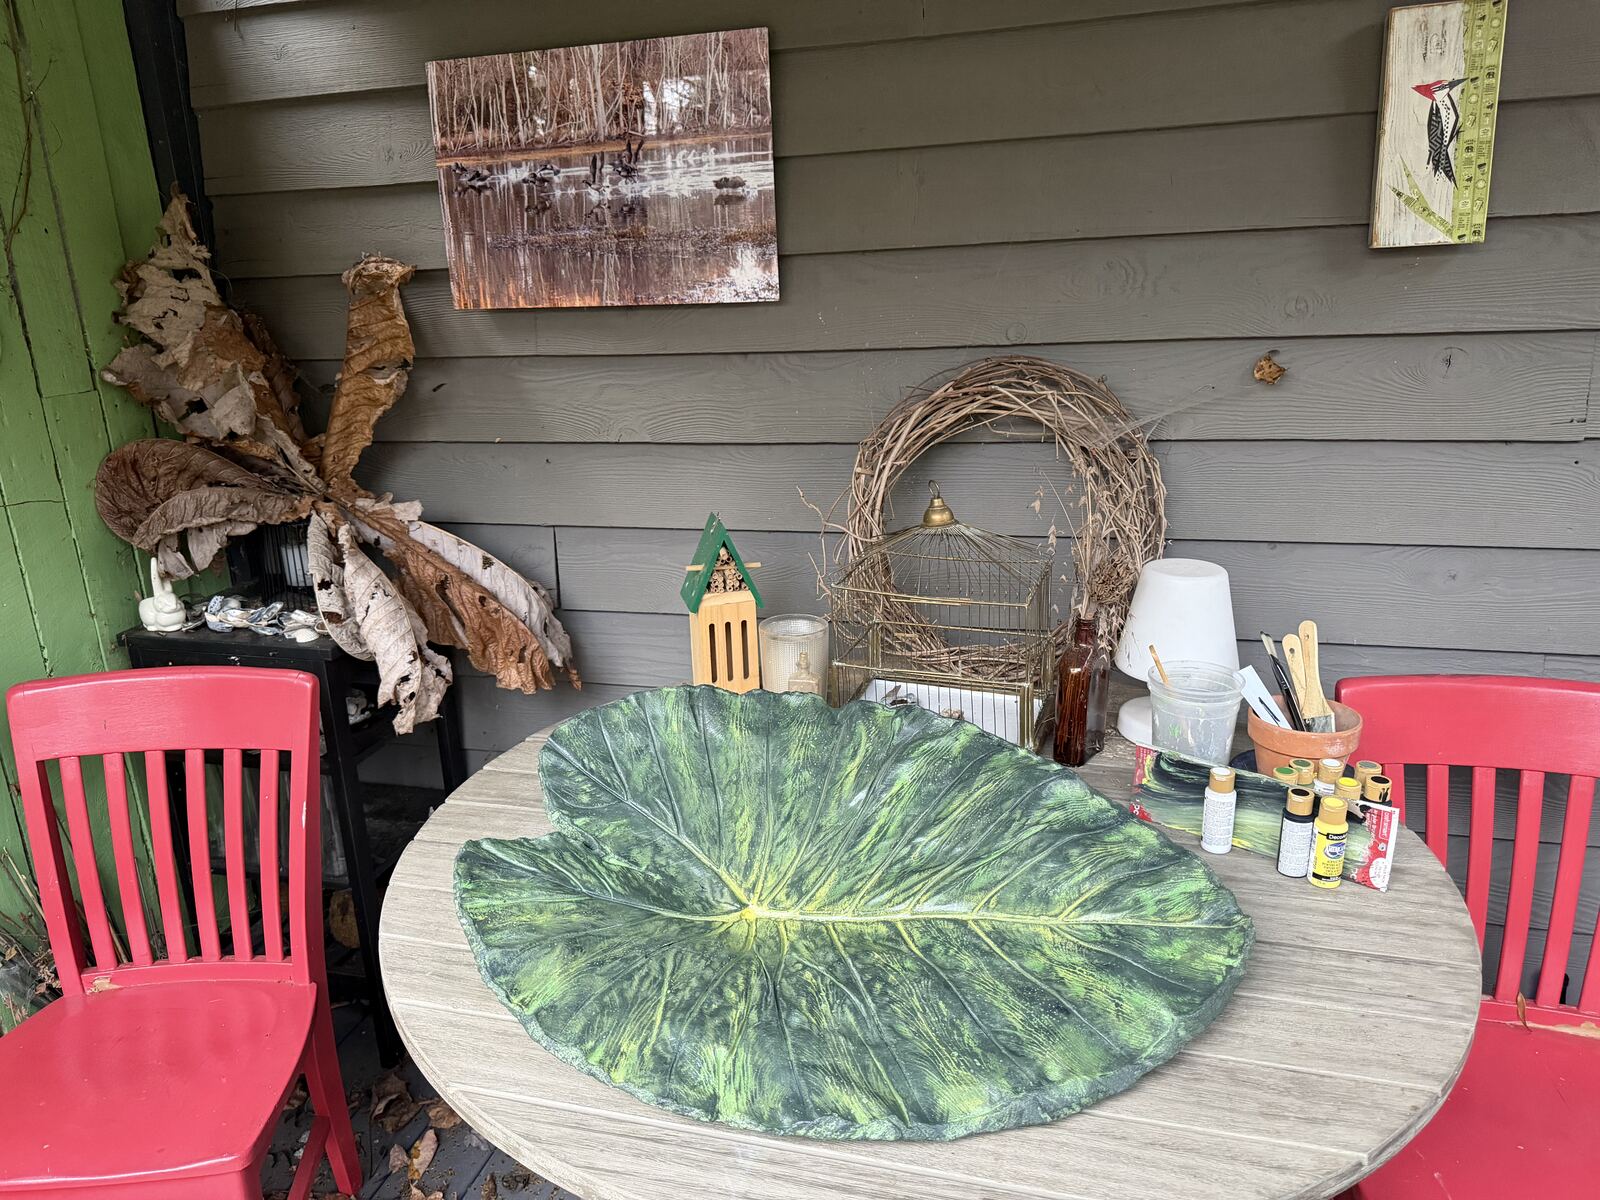
After a few weeks of curing, it was time to bring the color back. I used DecoArt Americana acrylics — a spread of greens from light avocado to festive green, two yellows for the leaf's glowing center and veins, plus black and white to push the shadows and lift the highlights. Cheap, forgiving, and sealed over afterward for the outdoors.
Bringing it back to life
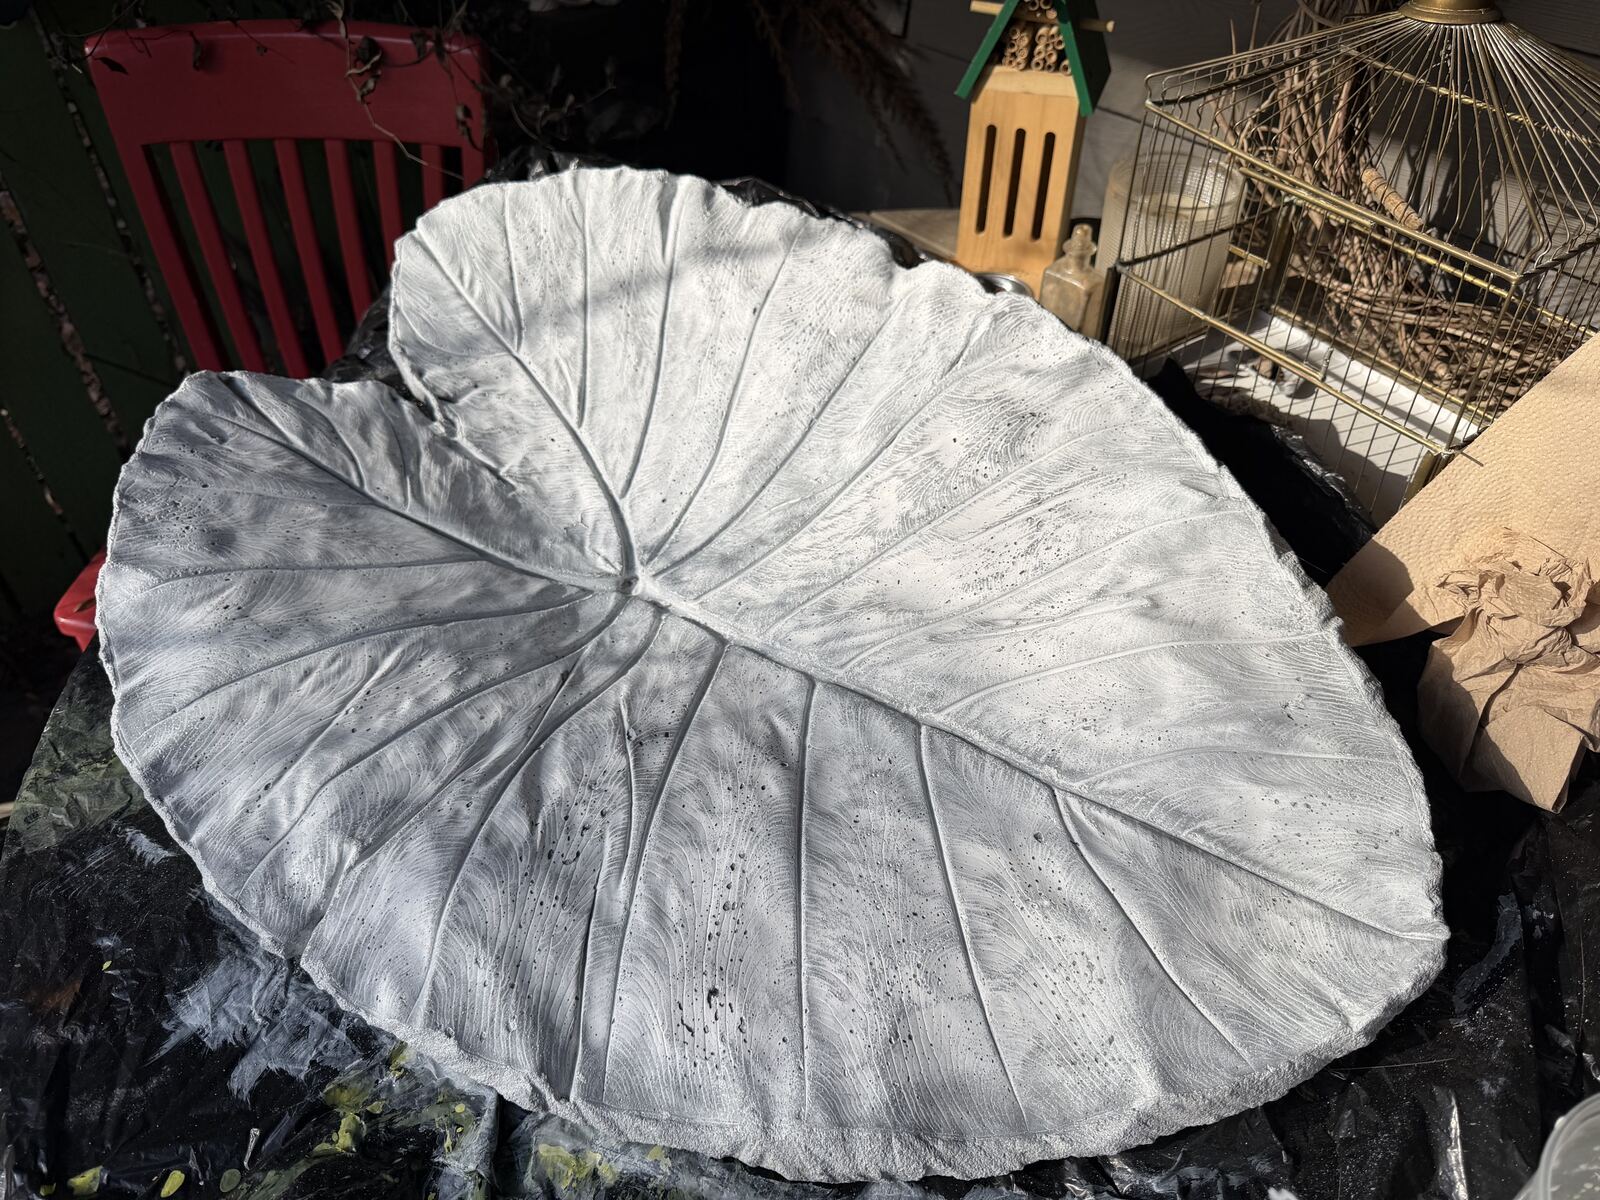
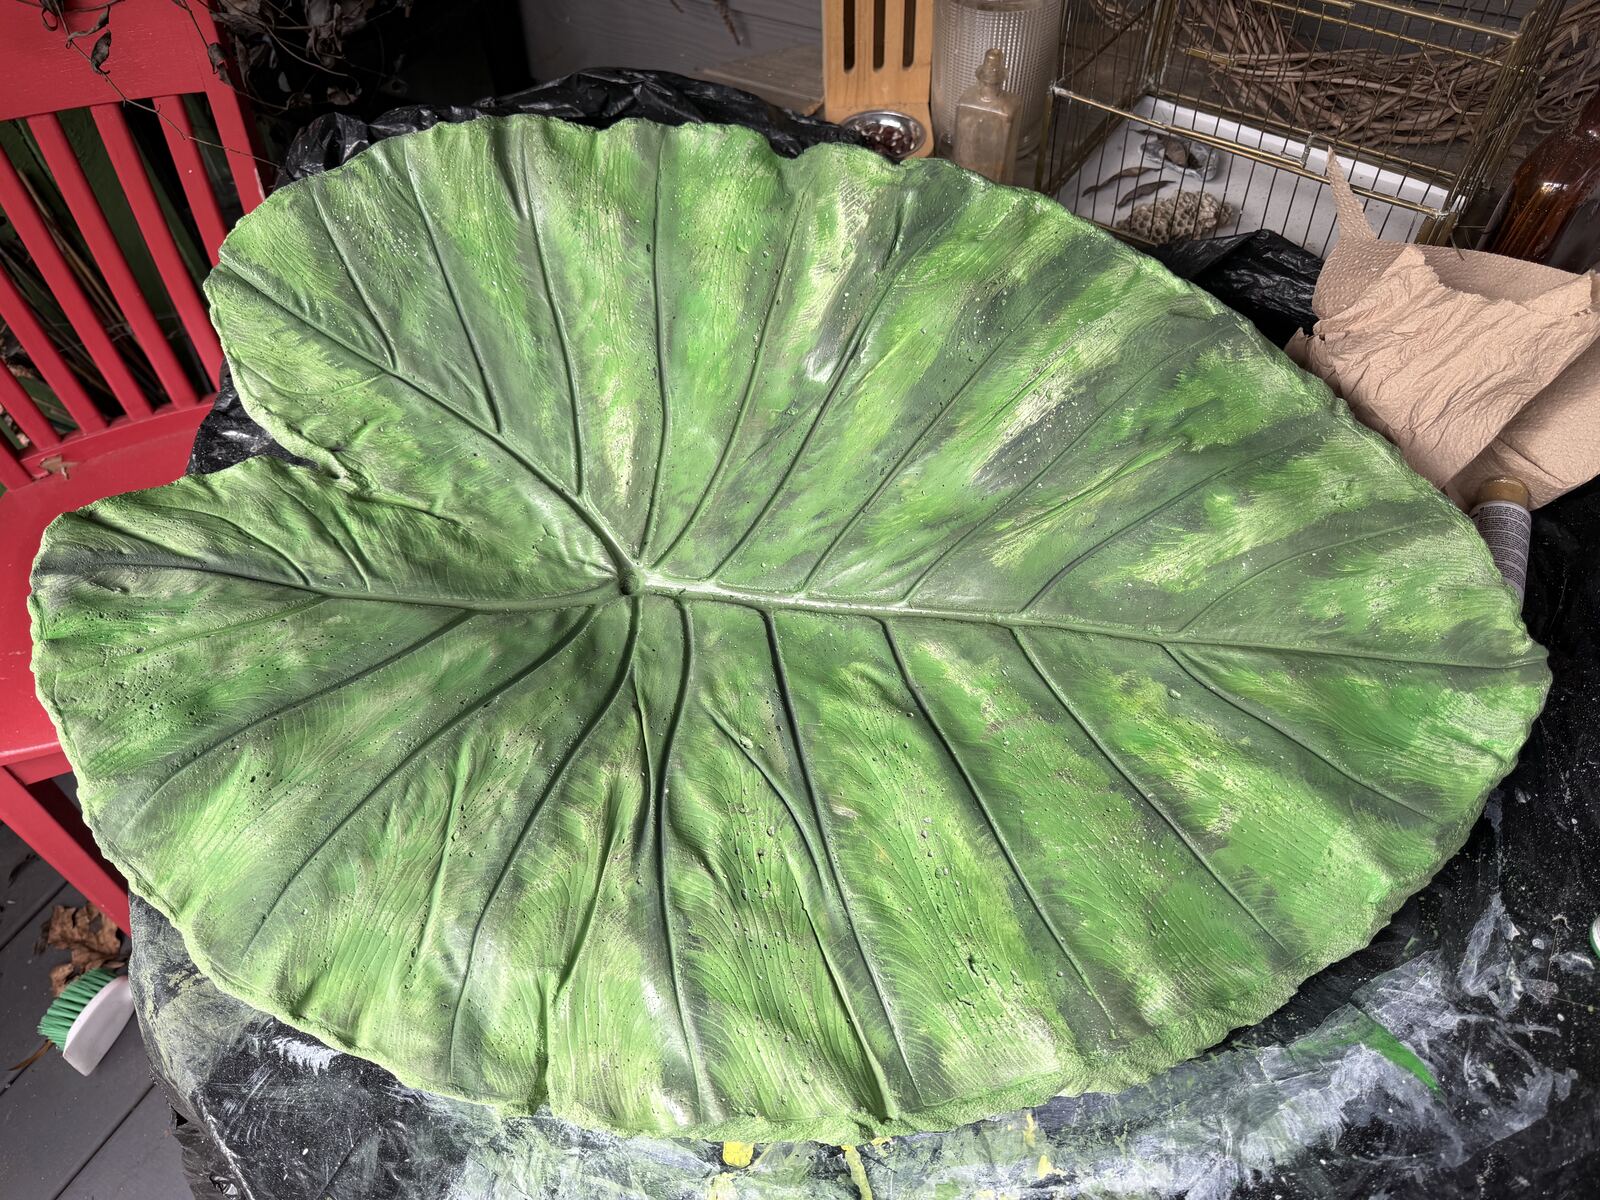
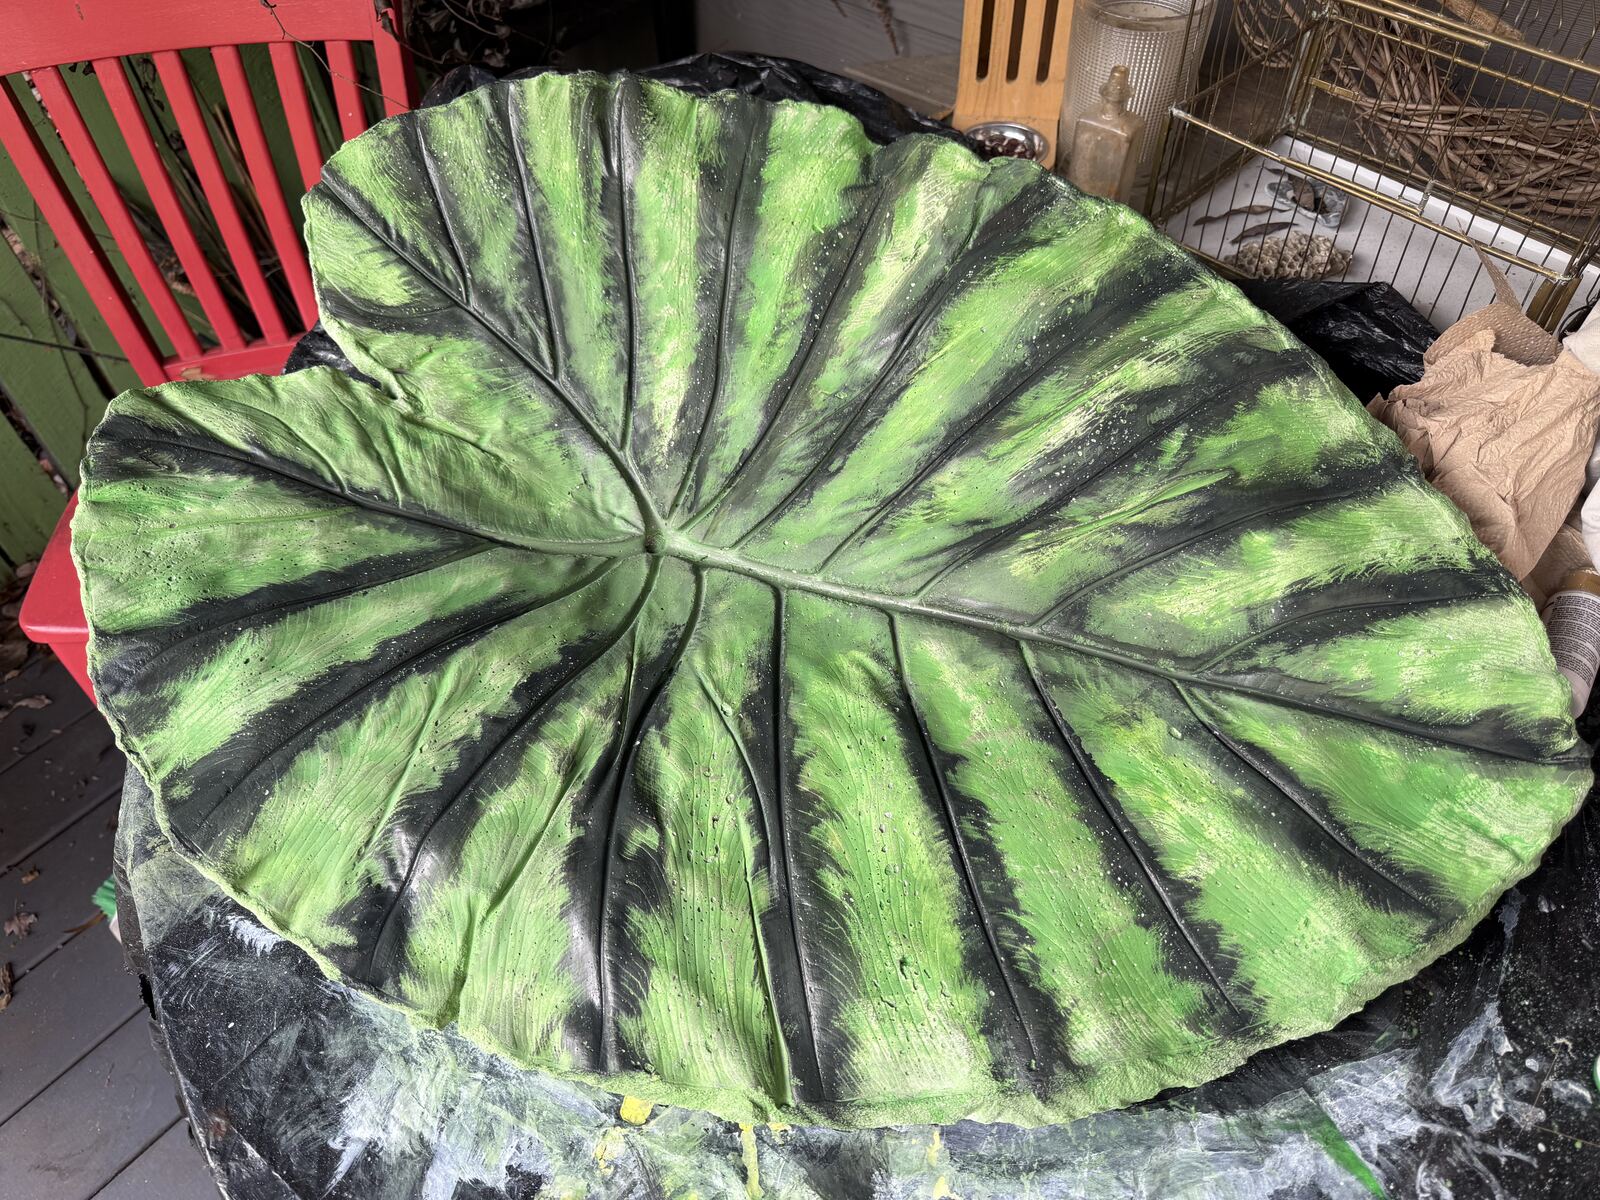
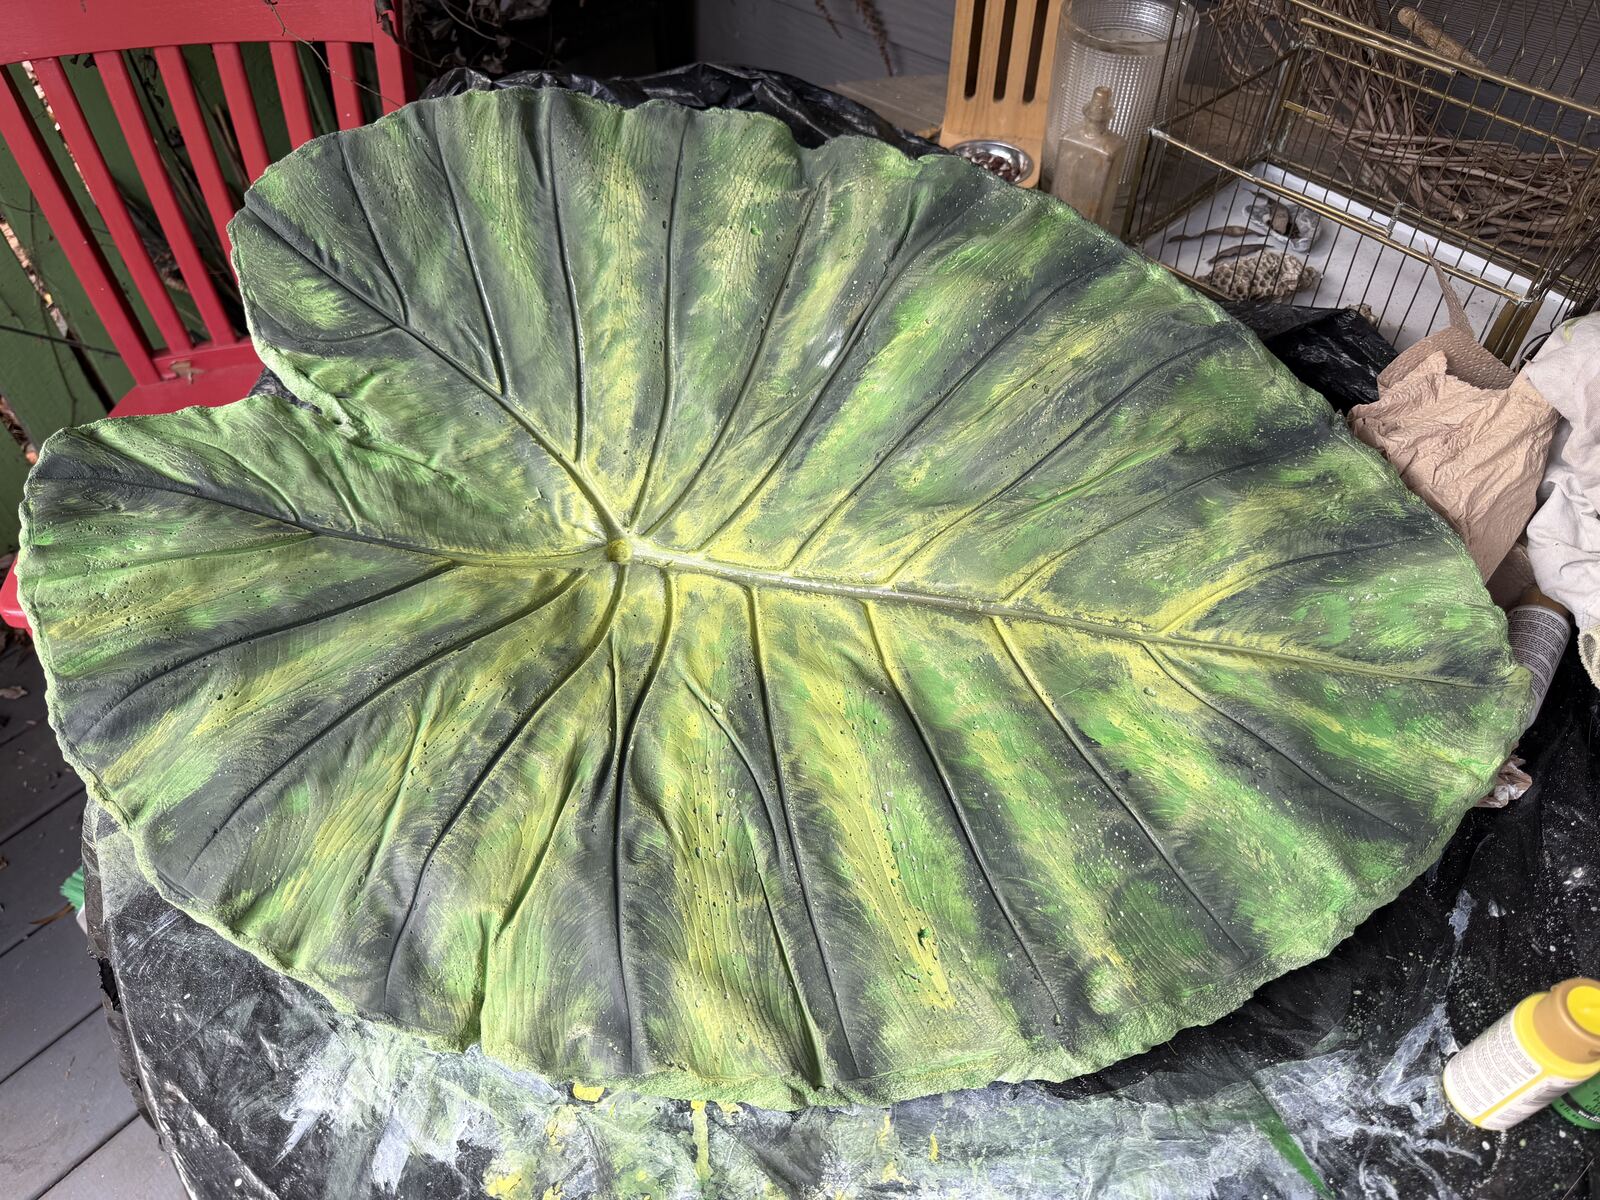
The whole trick to painting a leaf cast is drybrushing — a brush loaded with just a little paint, dragged across the raised surface so it catches the ridges and skips the valleys. Build up in thin layers, dark to light, and let each pass find the texture. Here's the progression from cured concrete to finished leaf, across one afternoon.
Sealing with tung oil
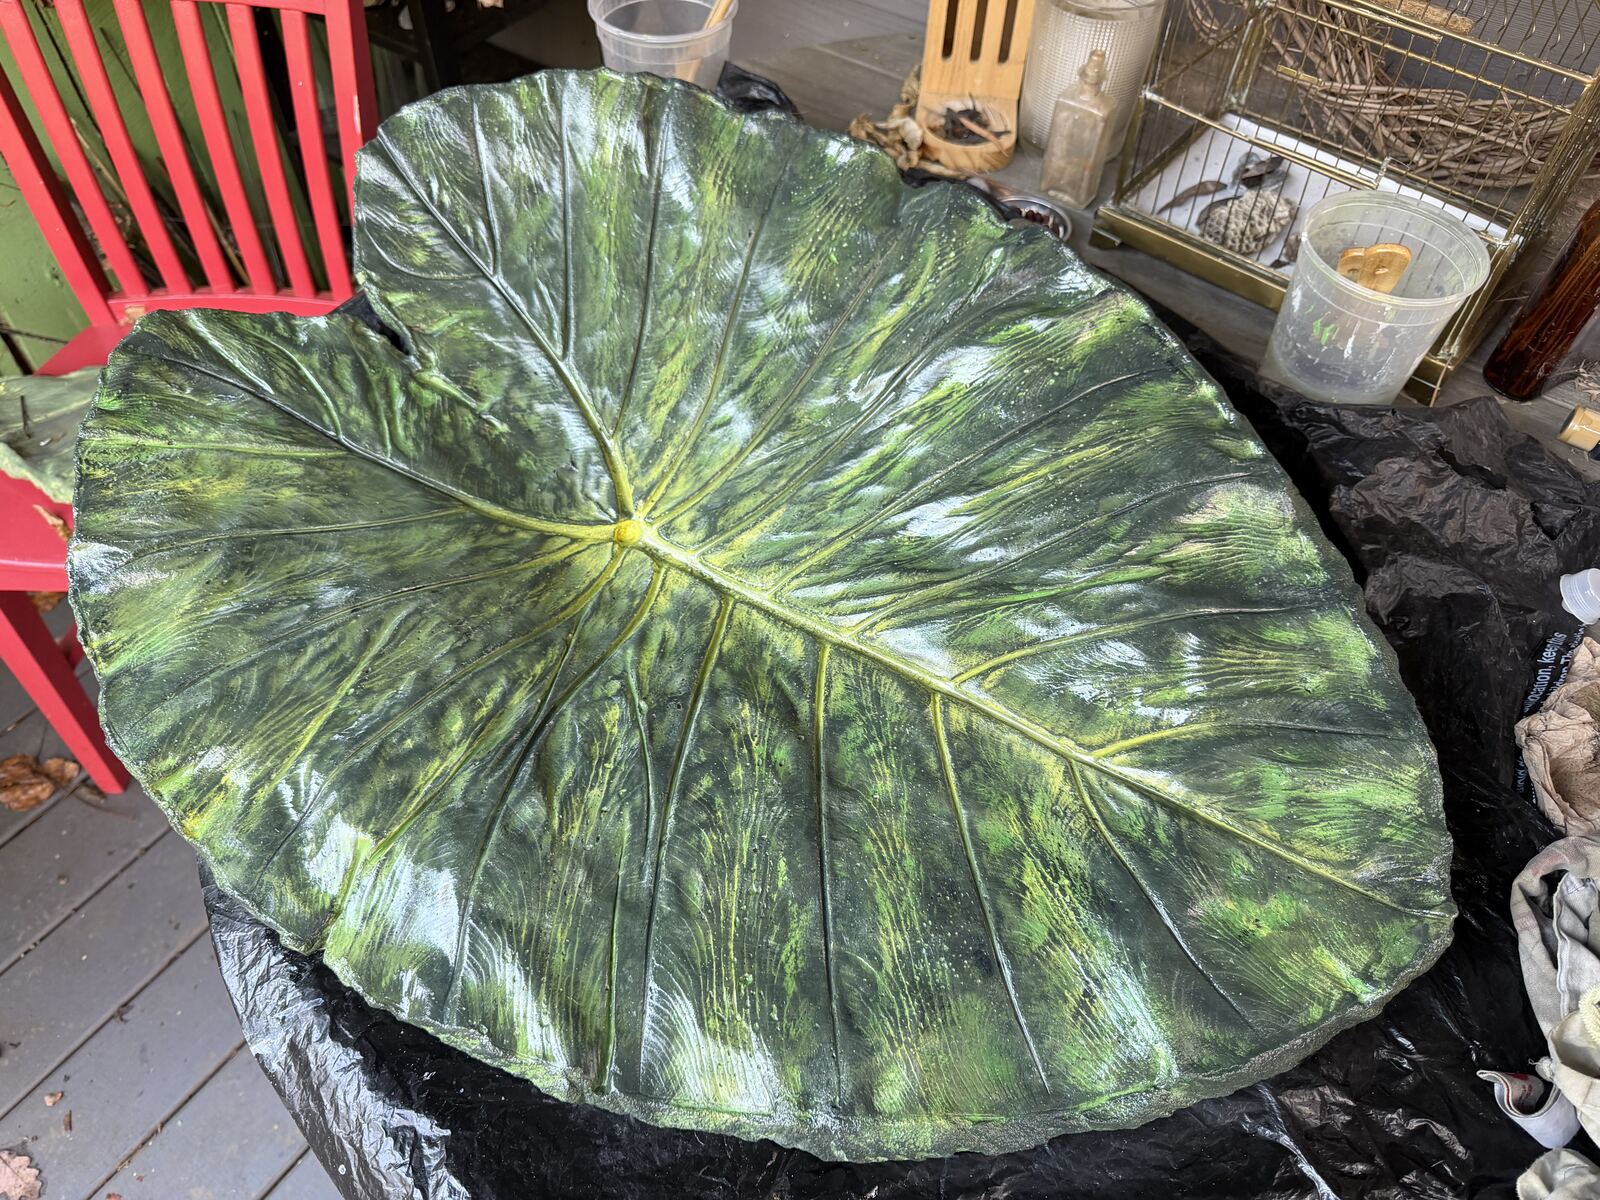
Paint first, seal second. I finished with tung oil — a natural oil that soaks into the concrete rather than sitting on top as a plastic film. It's non-toxic once cured (worth knowing if birds will use it), deepens the color, and leaves a soft satin sheen rather than a hard gloss. Several thin coats, wiped on with a rag and left to cure between passes.
At home in the garden
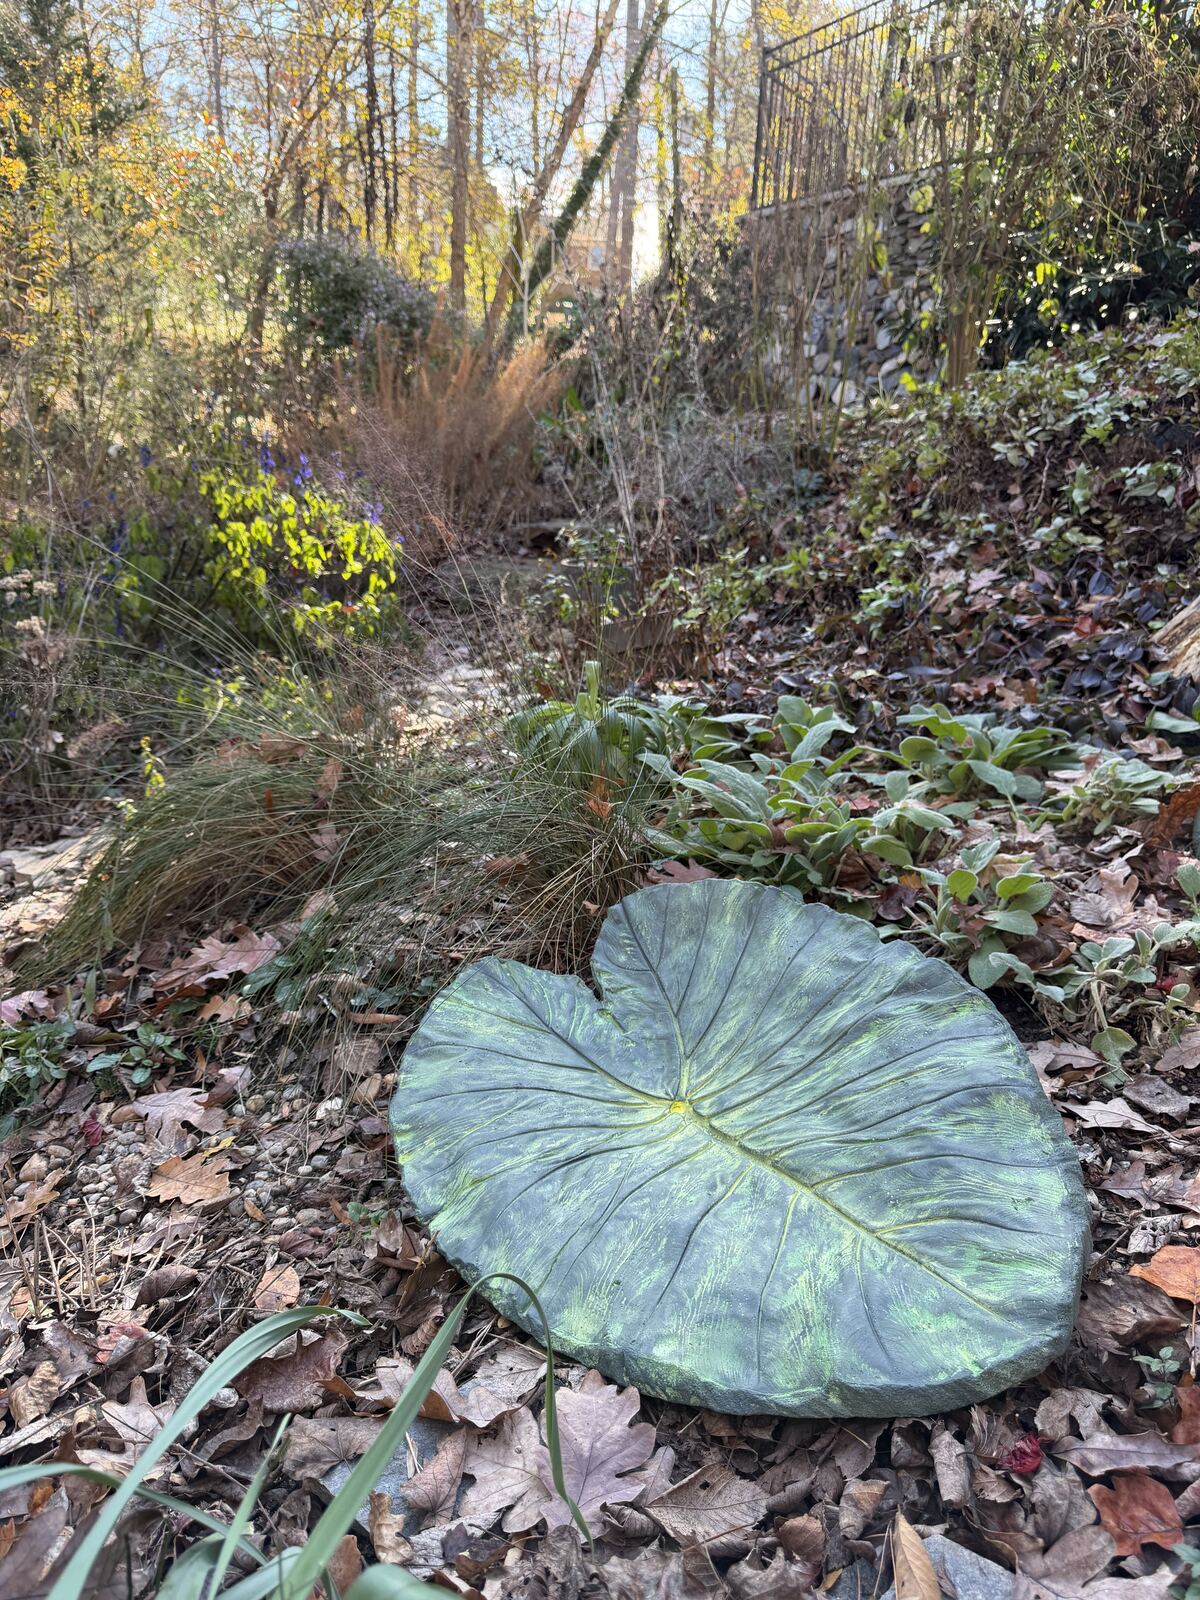
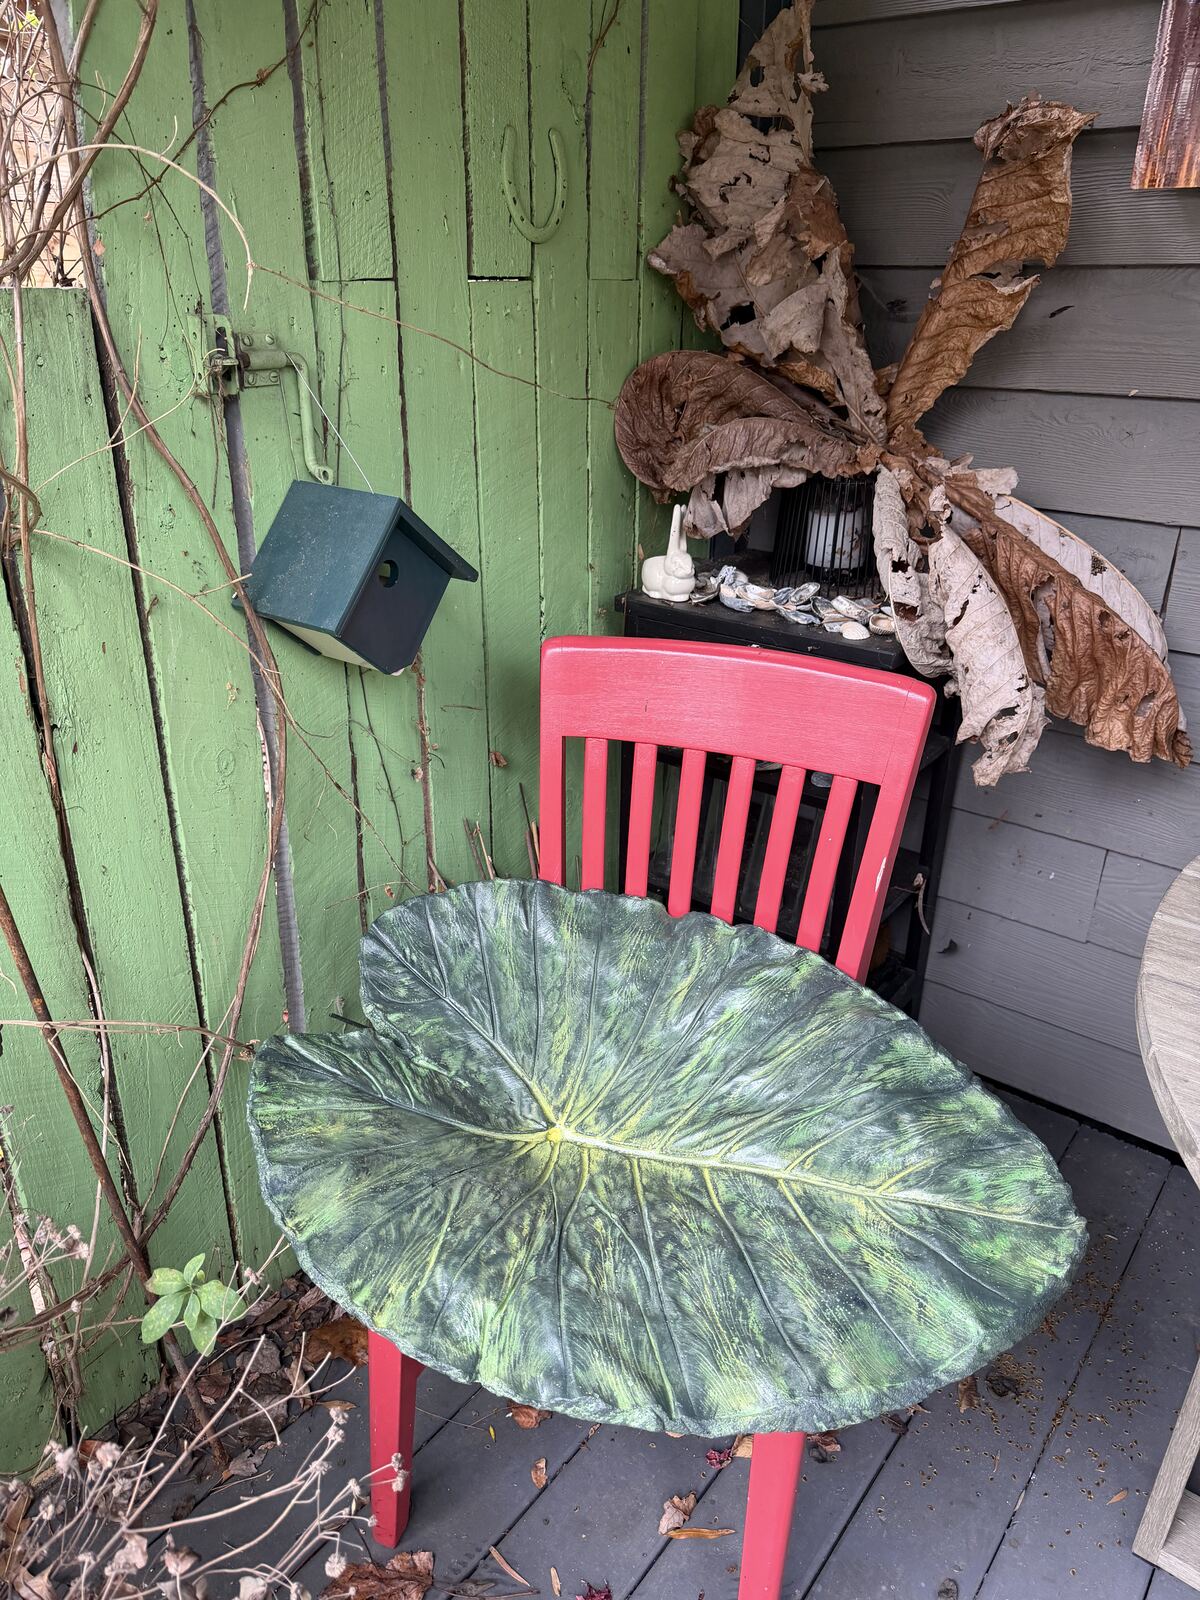
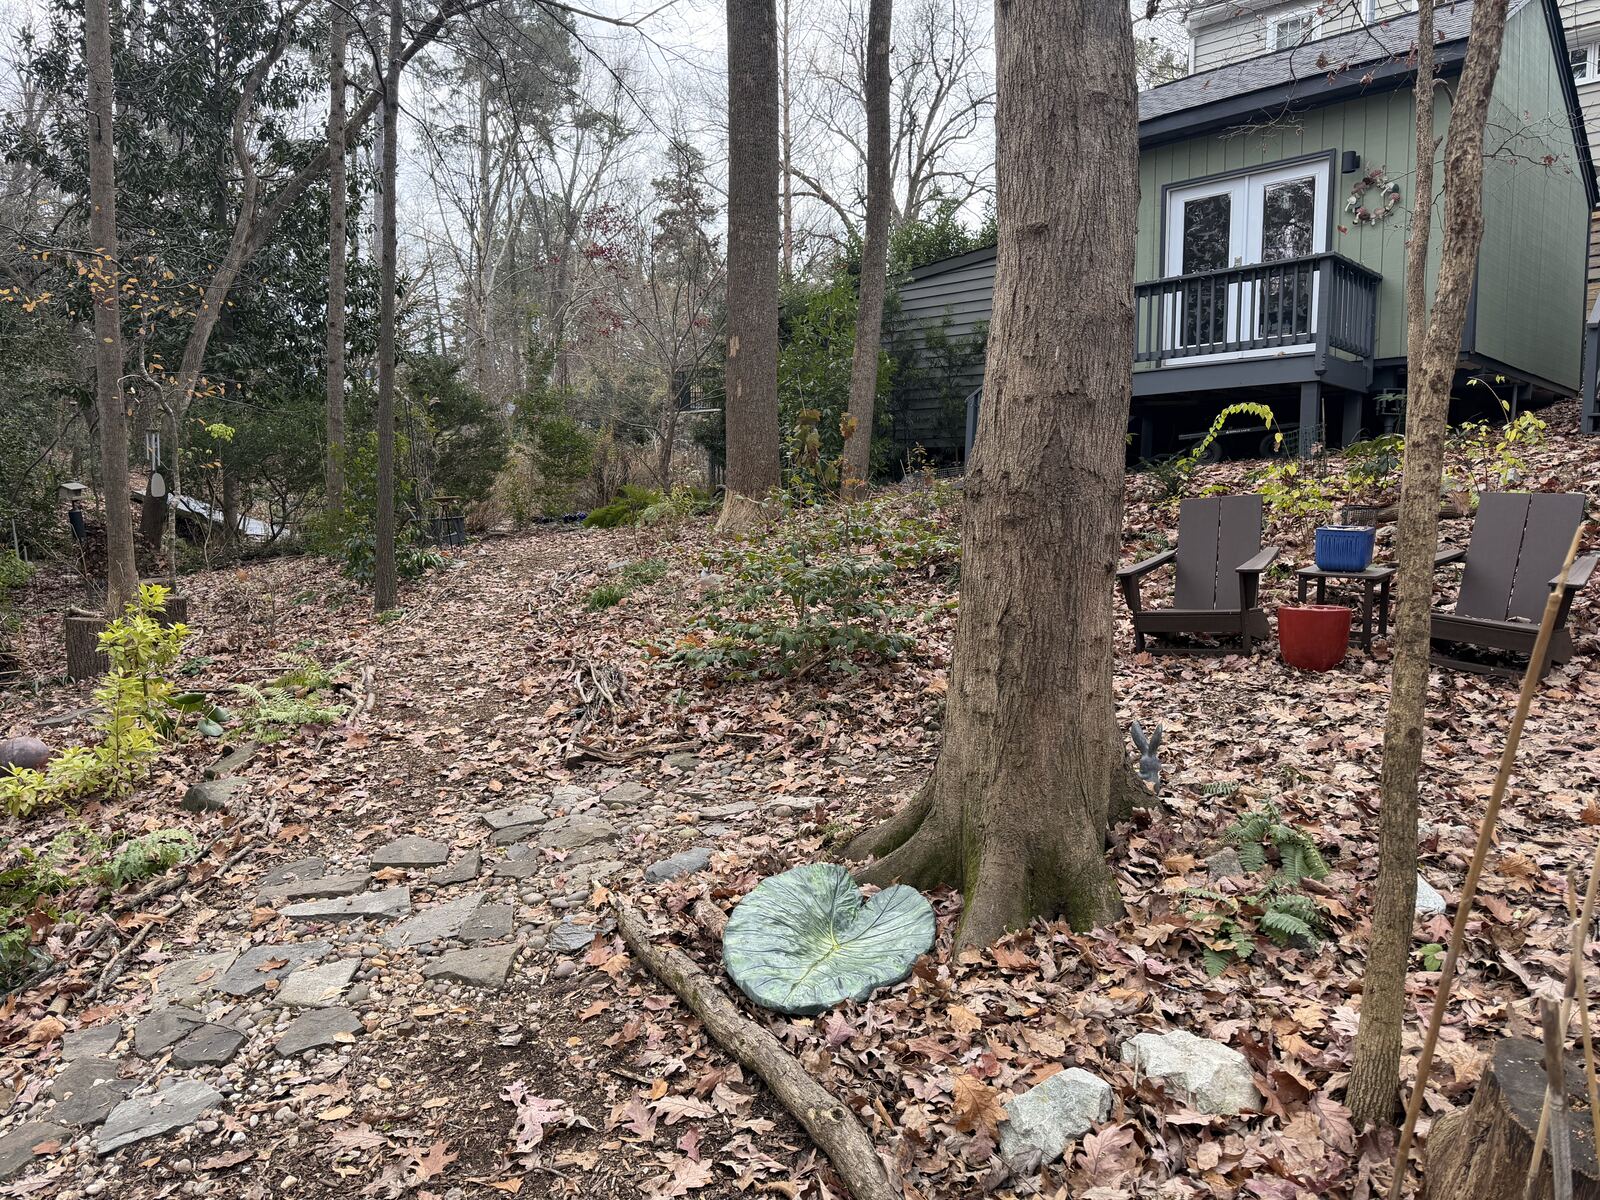
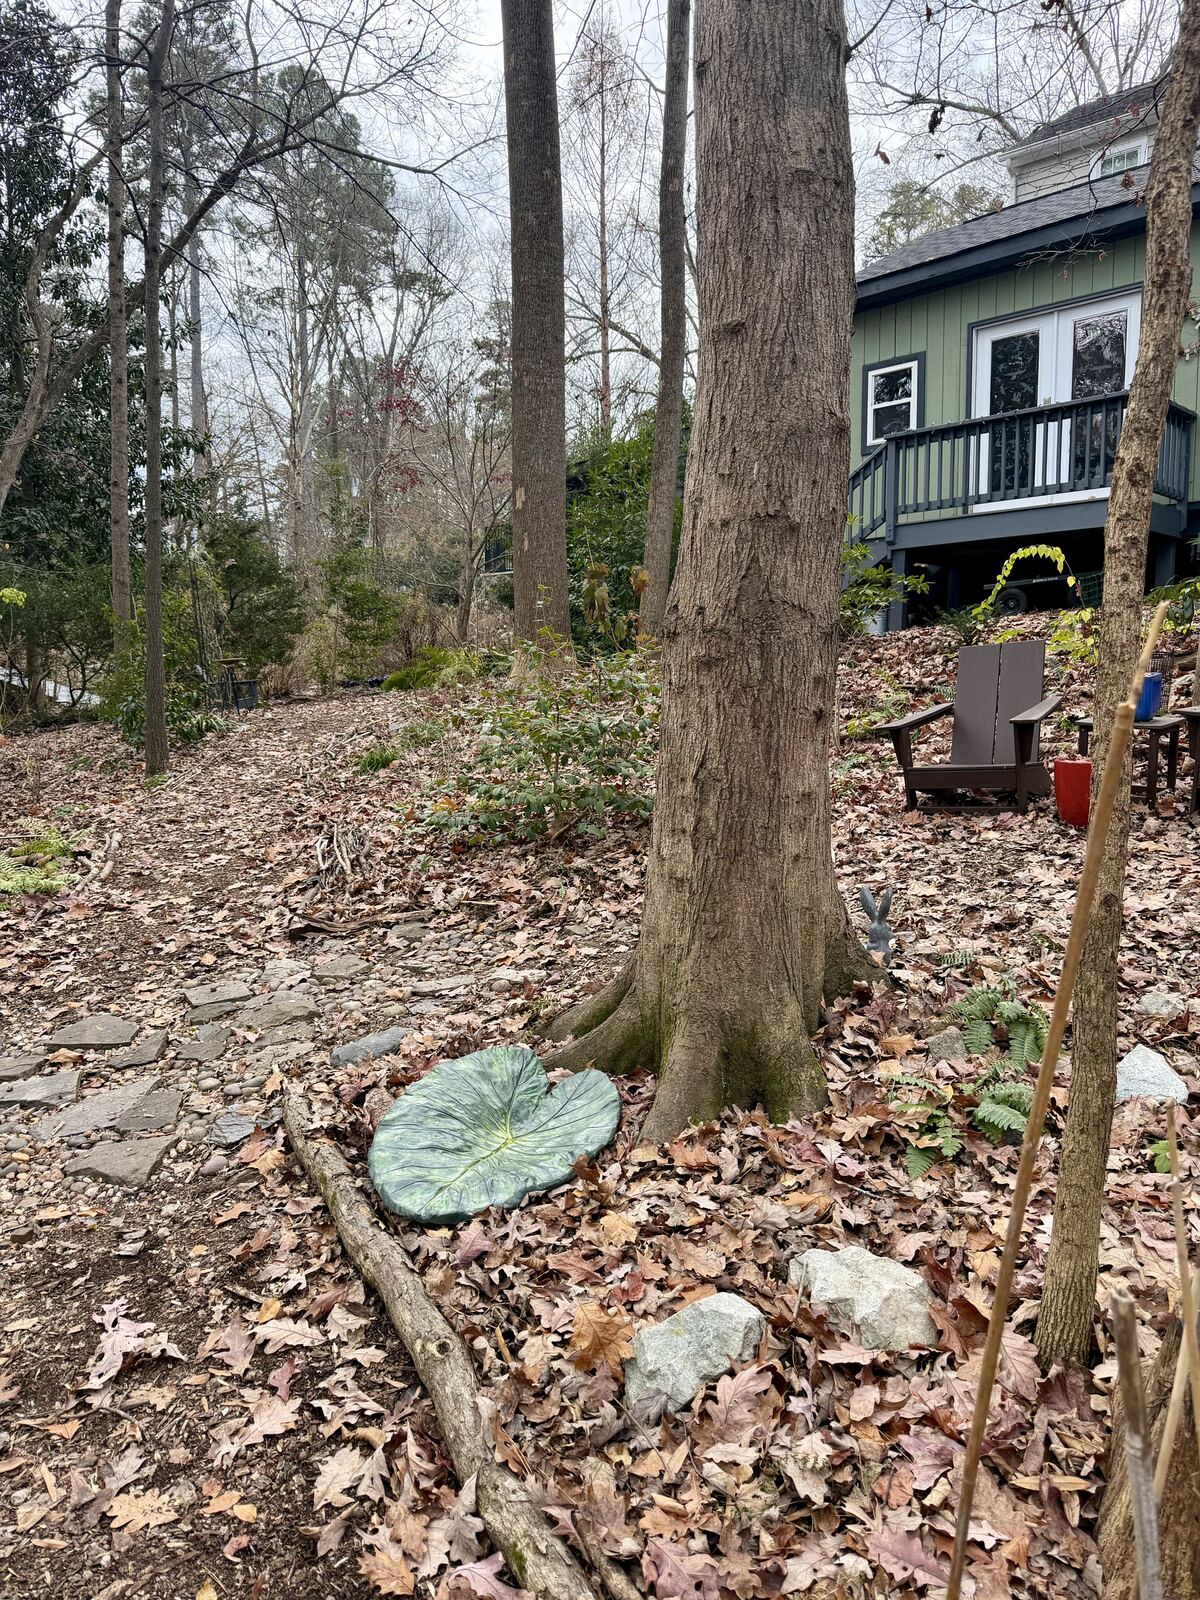
Then the last step — finding it a spot. Nestled among the ferns, propped on the old red chair beside the dried leaves it was cast from, and finally settled at the foot of a red maple.
What I'd tell myself next time
- Remove the petiole flush with the blade. An "outie" stem prints a hole straight through the cast — a dealbreaker for a birdbath.
- Mix more than you think you need, then add about 25% more. Eyeballing the volume for a big leaf is hard, and running short mid-pour is the annoying way to find out.
- Keep the mix on the dry side. Too wet and it slumps and won't hold the leaf's shape. Add liquid slowly; you can't take it back out.
- Reinforce the big ones with chicken wire — first layer, wire, second layer. Cheap insurance against cracks on a big span.
- Let it cure before you move it. I cracked one cast clean in half by handling it too soon — the un-reinforced one couldn't take the flex.
- Trim the edges while it's still green. A small hand saw glides through an overnight-cured cast; it fights you once fully hard. (Careful sawing in place is fine — it's lifting and flexing the whole slab too early that breaks it.)
- A second batch is fine. The gap between mixes doesn't hurt the result.
Scaling down
Thinking about smaller casts — say a 10-inch oakleaf hydrangea leaf? You can simplify. At that size there's far less structural stress, so you can skip the vinyl adhesive and just use water: a 2:1 cement-to-sand mix to brownie-batter consistency holds up fine, and you won't need chicken wire. The vinyl patch cement already carries some resin in the powder, so you're not losing much. A small squirt of adhesive is cheap insurance only if your edges get thin.
The sealer, though, is about function, not size. Purely decorative and not holding water? You can skip it. Holding water in any amount? Seal it — the lime chemistry doesn't care how small the dish is.